Tag: bottles


Sterilizing

April 30th, 2009 — 9:22pm

A Tutorial on Sterilizing

I sterilize so many things now that it seems like common sense how to sterilize. I remember though, frantically Googling how to sterilize when I had to do it the first time. I had so many questions-Do I wash it first? Will the plastic melt? How long do I do it?

When you become a Mom you become a sterilizer! I sterilize probably once a week-new bottles, toys, pump parts, baby cubes-the list could go on an on.

This past weekend I bought more bottles for Lucy. I used to “only” have 3 sets for daycare but the washing of her bottles gave me major anxiety (it was yet one more thing I had to do in my already jammed packed night) so Shaun told me to go buy enough for her to have all week. I was trying to save money but Shaun reminded me that my sanity was worth more than a few bottles. So now we are the proud owners of 20 bottles-it sounds (and is) wasteful but I figure I’m saving water resources by not washing bottles every few days-nice way to rationalize it, huh?

Anyway, onto the tutorial!

Sterilizing is a good thing to do with any new plastic product unless the package says “DO NOT BOIL”. You never know what the product touched before it got to you and babies basically put everything and anything into their mouths.

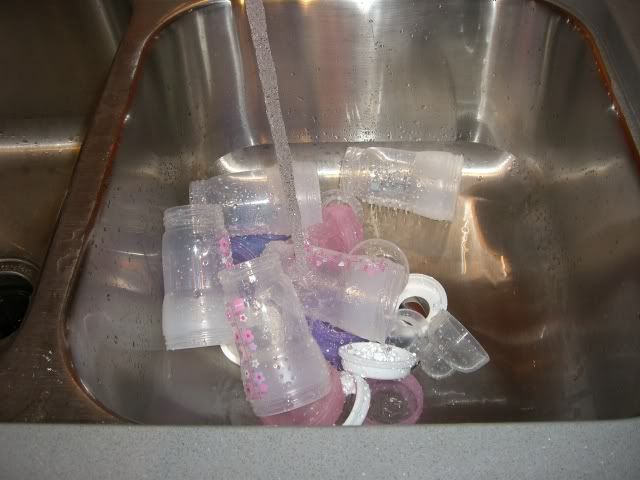
First take the product out of the packaging and disassemble it (Lucy’s bottles disassemble into 5 pieces-no wonder I hate washing them):

Photobucket

Get a big pot of water on the stove and boiling.

Next wash with soapy water and rinse-make sure to get all the soap off:

Photobucket

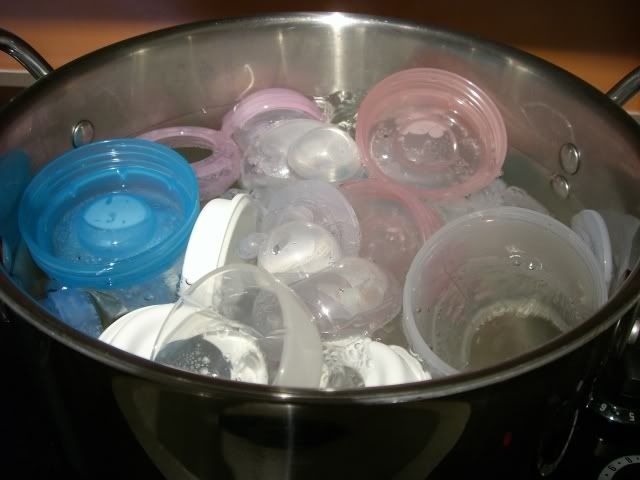
When your pot has come to a boil, put the plastic pieces into the pot-my bottle sterilizing this weekend took 2 batches-it wouldn’t all fit into one pot:

Photobucket

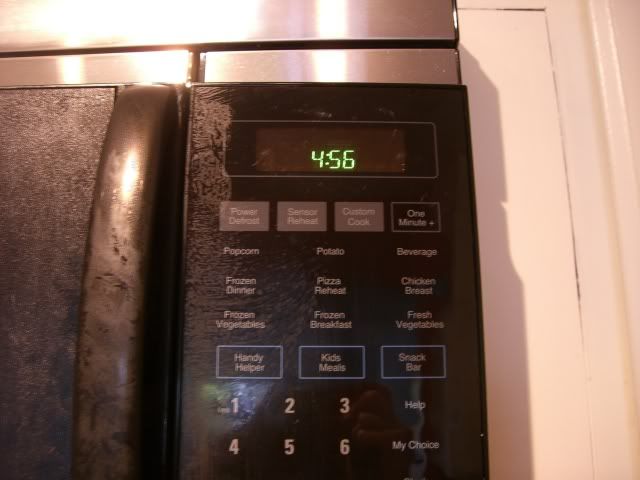
Bring it back to a boil. Set the timer to 5 minutes and start it:

Photobucket

Boil, baby, boil! No your plastic will not melt!

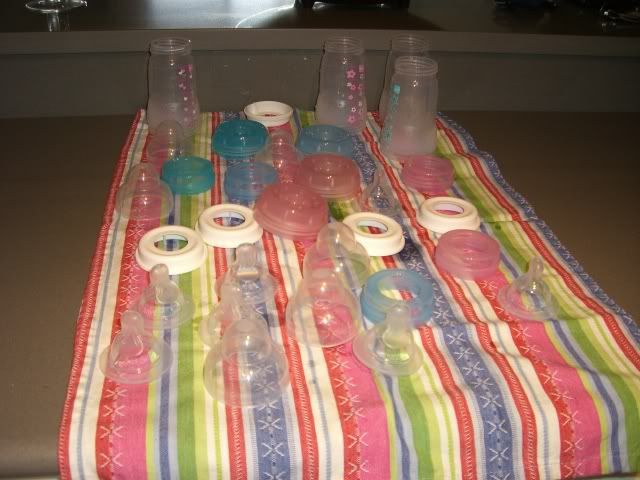
After 5 minutes, take everything out (I use metal tongs) and put on a clean towel to dry:

Photobucket

Voila! Sterilized plastic goods!
9 comments » | How To

Sending a Breastfed Baby to Daycare

April 24th, 2009 — 3:26pm

I know I had so many questions about sending Lucy to daycare with bottles when up until that point she had been exclusively breastfed (EBF). I talked to her daycare to see what they suggested and I went searching online and here’s what I did and now do.

For Lucy’s first day I sent 4 ounce bottles.  She was 4 months old and 4 ounces seemed like a good starting point.  I sent enough bottles for her to eat every 2 hours (like she did at home), with an extra bottle just in case.  My daycare has a rule that if a bottle has been out for an hour they can’t offer it again, so I always include that extra bottle.

By the end of the first week daycare requested that I send 5 ounce bottles.  Lucy was still trying to suck after the 4 ounce bottles were gone but was only eating once every 3 hours. They quickly asked for me to send 6 ounce bottles.

According to my Lactation Consultant (LC), there have been studies that show that a breastfed baby rarely drinks more than 5 ounces at a feeding and that anything more than that could be considered over feeding.  With that in mind I tried to back Lucy back down to 5.5 and then 5 but she was still sucking after 5.5 and was becoming a cranky baby.  I figured that since she ate every 3 hours at daycare vs. every 2 on the breast that 6 ounces was okay to send-especially since she’s such a tiny baby (she’s in the 10th percentile for weight).  She now takes 3 6 ounce bottles and 6 ounces of solids at daycare.  Before we started solids she was routinely eating 18 ounces of breastmilk a day.  I still send an extra bottle just in case we get stuck in traffic or something happens where we can’t get her when we originally planned.

The moral of the story is-follow your child’s cues and talk with your daycare provider.  They’ve done this many times before and should be very knowledgeable.

A good tip is to number the caps of the bottles and the labels. Tell daycare to feed them in order, that way you know that your child is getting the oldest milk first and you can keep track of how old milk is. If one of the bottles has to go back in the fridge after being offered for an hour and refused then that one would be labeled number 1 for the next day.  It’s useful to label the lids because those can easily be switched out.  If I need to dig into my freezer stash of milk, those bottles are labeled lower than fresh milk since it probably has a shorter “shelf life” than milk you pumped that day.

Photobucket

I tend to freeze my milk over the weekend since I had to dump 12 ounces one Monday morning when my milk went bad. I literally cried.  Milk can last up to 10 days refrigerated but I’ve found that mine starts smelling and tasting foul after the third or fourth day-everybody’s milk is different-and yes I’ve tasted it.  Since it’s literally liquid gold I play it safe and freeze it every Friday. I just stick any bottles she has left in the freezer and then my pumped milk goes in Medela Pump N’ Save bags. All the milk that gets pumped over the weekend goes into the fridge. On Sunday, I take the bottles and whatever amount I need from the  bags out of the freezer and put them in the refrigerator to defrost.  If I remember to take it out in the morning, I can prepare her bottles on Sunday night.  If I forget, I have to make her bottles Monday morning-and that’s a pain.

One last tip-I have 12 bottles for daycare and 12 bottles for pumping.  That way I only have to wash bottles twice a week.  It’s a huge time and energy saver.  Plus-I HATE WASHING BOTTLES-it’s the bane of my existence.

~~~

I bought my Eye-Fi and it should be here on Monday.  Know what that means? More pictures for you (and me)!

6 comments » | How To

Back to top