This weekend I made blueberries, peas, green beans, prunes, and mango.
Here they are cooking away!

The blueberries were a frozen bag from Trader Joes and they did not turn out. They tasted like dirt so I ended up throwing them away.
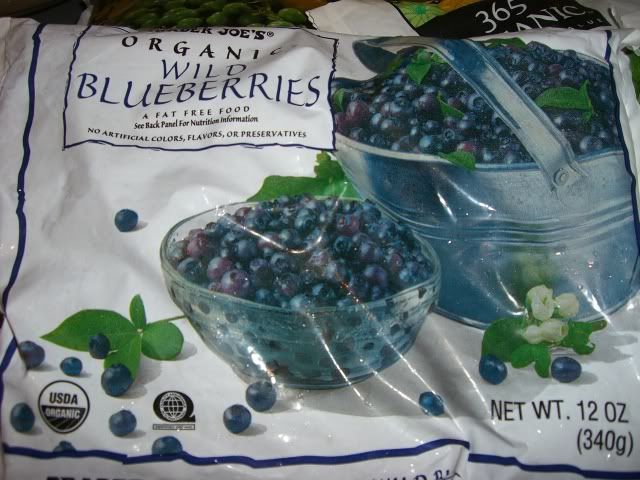
I’m not going to feed Lucy something that I wouldn’t eat.
Prunes
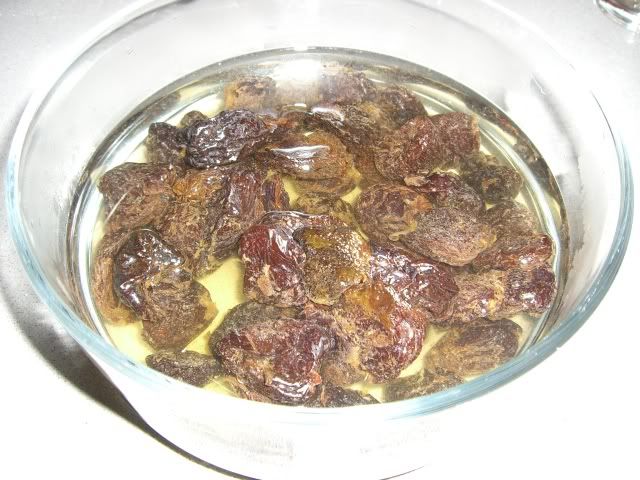
Prunes are really easy to make. I got organic prunes from Whole Foods this time but I think I prefer Newman’s Own Organic Prunes because they blend up to a much nicer consistency than the Whole Foods prunes.
For prunes, place them in a bowl and cover them with warm water to reconstitute them. I let mine soak for about 30 minutes.
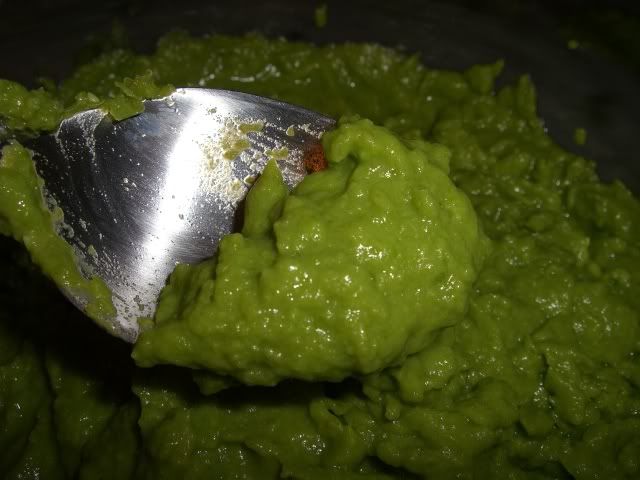
Once they are nice and plump throw them into the food processor with some of the leftover water. Blend. Add water until the consistency you desire is reached. I had to add all the water to these prunes this week to get to this consistency:
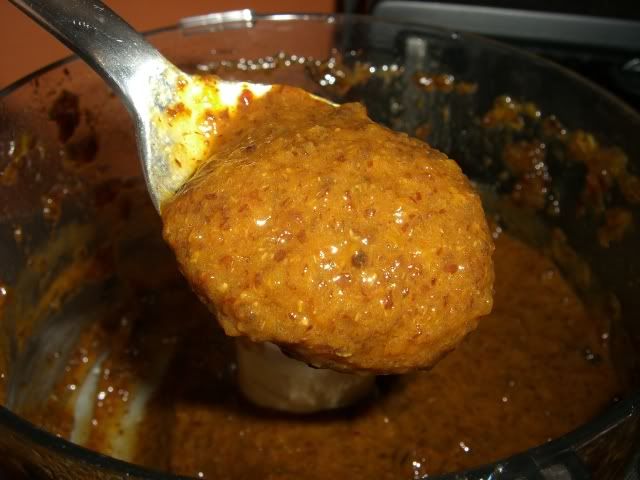
Lucy loves her prunes and Mommy loves what they do for Lucy ;-P
Prunes are just dried plums. I’ve been looking for organic plums but no luck so far!
Green Beans and Peas
Green Beans and Peas are staples in our house and they are the biggest pain in the booty to make. They taste SOOOO much better than the commercially prepated baby food so it’s worth it to me. I get the frozen versions of both peas and green beans.

Green Beans
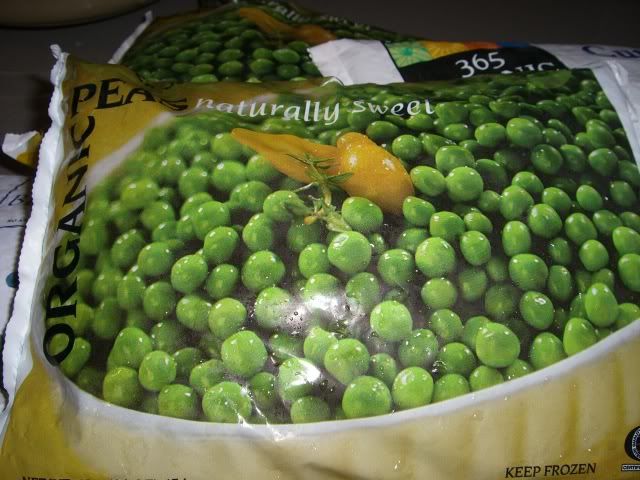
Peas
Organic green beans are really difficult to find-in fact I haven’t seen them since I started making Lucy’s baby food. The frozen green beans are great because they’re already trimmed and there’s nothing I hate worse than trimming green beans! And have you seen fresh peas? Yeah…didn’t think so 🙂
I steamed both veggies until just done. The green beans got a tad bit overcooked because Lucy woke up unexpectedly-I turned them off but didn’t take off the lid and they steamed about a minute too long. They had just changed color but were still nice and plump-not mushy. I wish they were a little more vibrant but they still tasted really good.
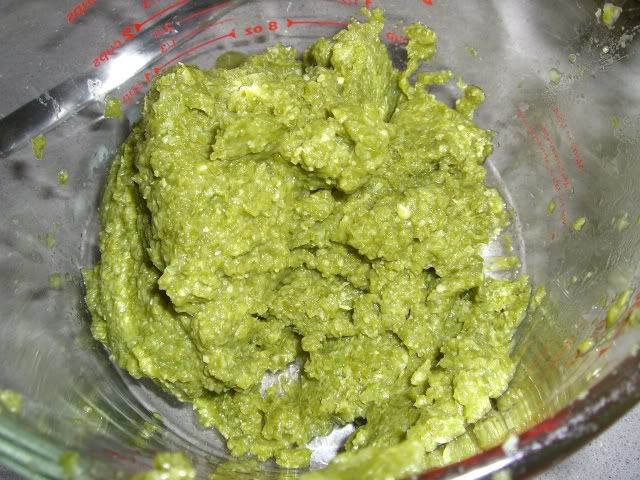
I toss them in the food processor with a small amount (2 Tablespoons or so) of the cooking water:
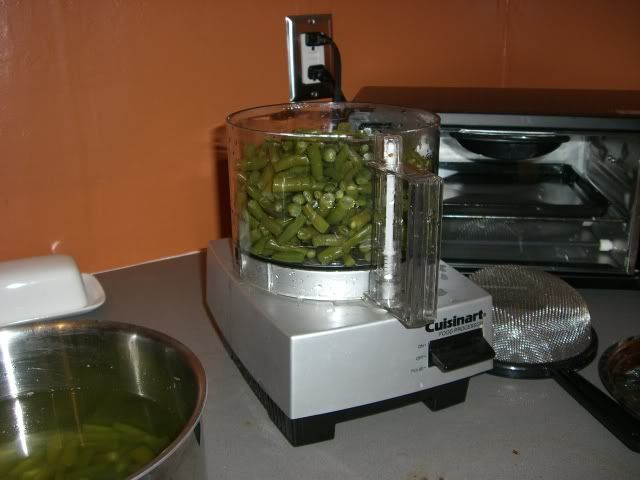
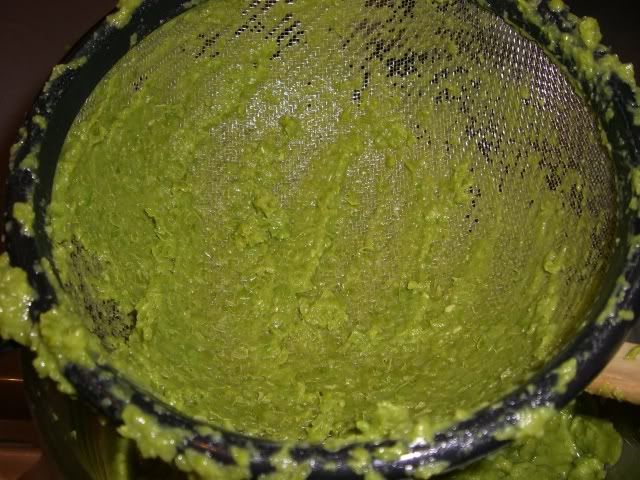
Process for about 1 minute. Until they look like this:
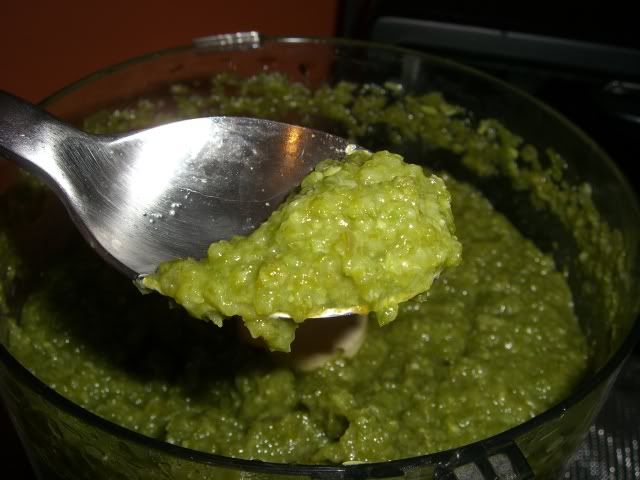
Green Beans
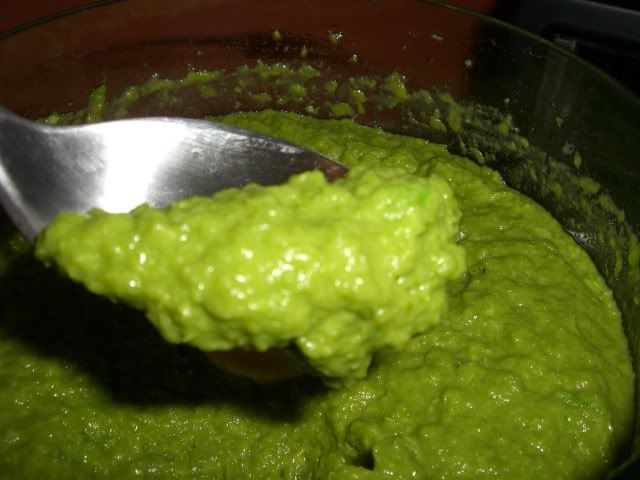
Peas
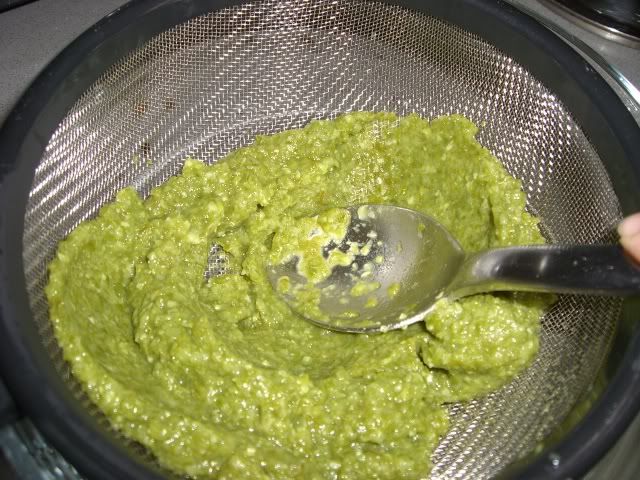
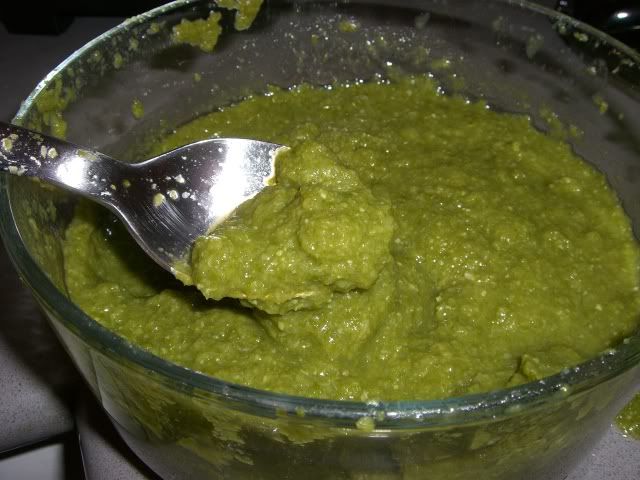
Then I go through the process of straining them. I use a mesh sieve and push the peas/green beans through with a spoon. I do a small amount at a time-if you add to much it doesn’t really squish through very well.
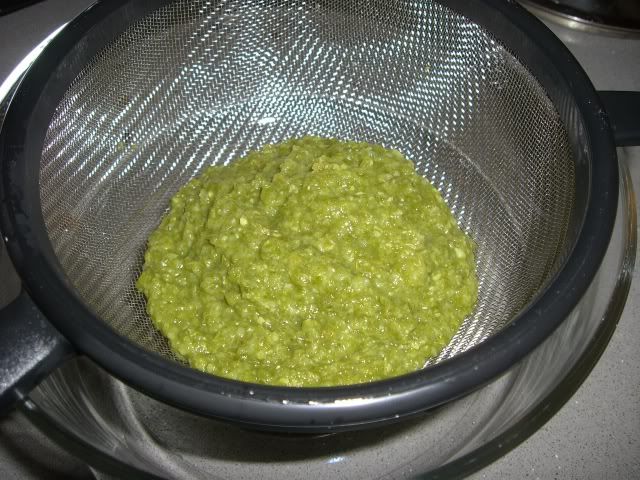
Green Beans
Peas
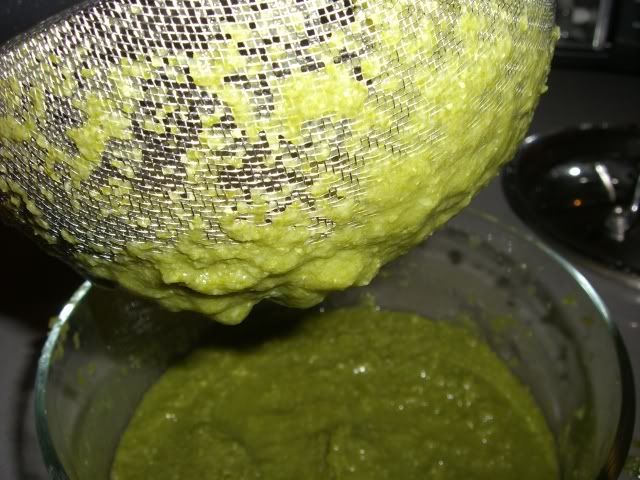
After I push them through with a spoon I run a spatula on the underside of the sieve to get the vegetables off.
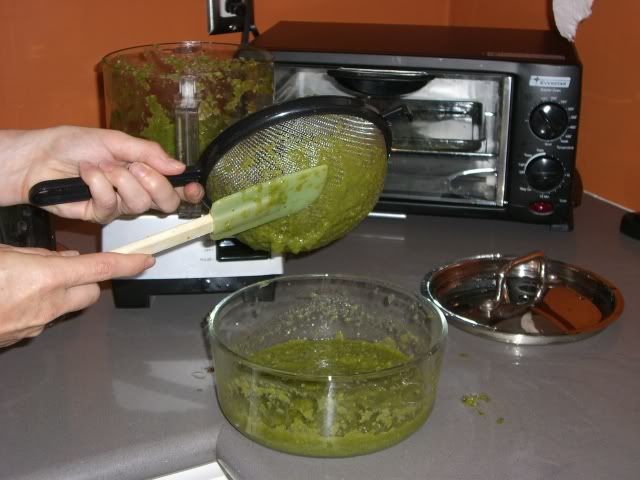

I put the veggies that don’t push through the sieve into a bowl and process them one more time and go through the process again.
Left Over Green Beans
For both the peas and the green beans I steamed 2 pounds and got 1 pound of baby food-and a crampy hand! I’ve tried just adding more water and not straining them and they make Lucy gag. You wouldn’t believe how much ruffage is in a pea or green bean. When I make the baby food I always try to swallow it without chewing it. If it gets stuck in my throat then I know it’ll cause Lucy issues. Both unstrained peas and green beans get stuck in my throat! Here’s what they look like when they’re done:
Green Beans
Peas
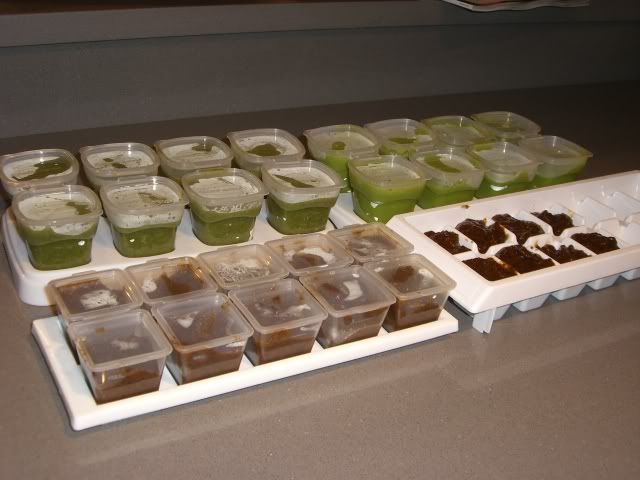
The fruits (ha!) of Saturday night’s labor:
Mangos
Unfortunately I didn’t get any pictures of the mango making but it was super simple and Lucy LOVED mango. Yesterday was the first day I gave them to her and she ate an ENTIRE mango all by herself! For the first batch that I gave her I just mushed with a fork. It wasn’t super smooth but she “chewed” and got them down just fine.
The one thing to keep in mind with mangos is that the skin can cause rashes in some people so I make sure to wash my hands throughout the process of making them. I also make sure to not get ANY skin into the puree.
The great thing about mangos is that you don’t have to cook them. Just get a ripe mango, cut it up, (here’s a good tutorial), put it in the food processor (for a big batch-otherwise just use a fork) and process until smooth. I found organic mangos for $1.30 each yesterday-I got 6 of them and I may go buy more since Lucy liked them so much.