Homemade Pumpkin Butter
I got a bug up my butt to make pumpkin butter without any refined sugar. I LOVE pumpkin butter. So much so that I bought 12 jars of it last year at Trader Joe’s so that I wouldn’t run out when it went out of season. That may have been overkill as I still have 6 jars in my cupboard. The second ingredient in that pumpkin butter is sugar-BOO! Before I embarked on my “clean” pumpkin butter I did a TON of research. I probably looked at 50 recipes before putting mine together. As you know my first batch was an big huge FAIL-too many spices. My second batch, however, is DELICIOUS!
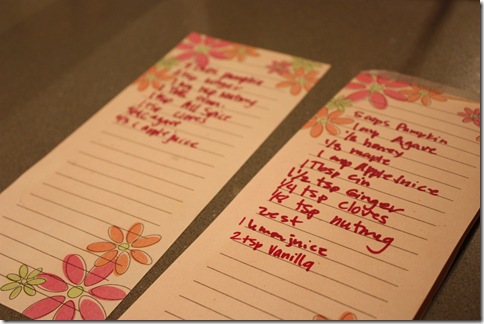
Ingredients:
3 Sugar Pumpkins (or 40 ounces of canned pumpkin though it won’t be as flavorful)
3/4 Cup Honey
3/4 Cup Maple Syrup
1 Cup Apple Juice
1 TBSP Cinnamon
1 1/2 tsp Ground Ginger
1/4 tsp Ground Cloves
1/8 tsp Nutmeg
Zest of 1 Meyer Lemon
Juice of 1 Meyer Lemon
2 tsp Vanilla
Instructions:
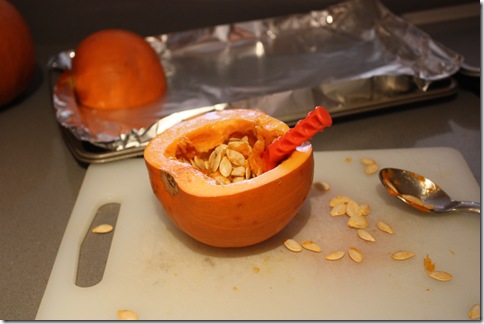
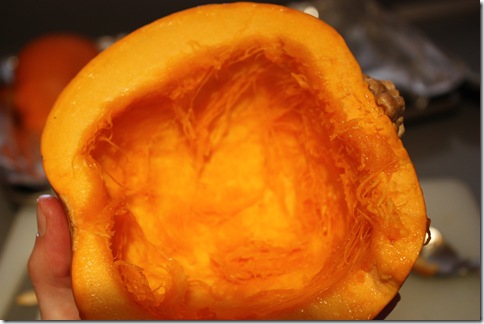
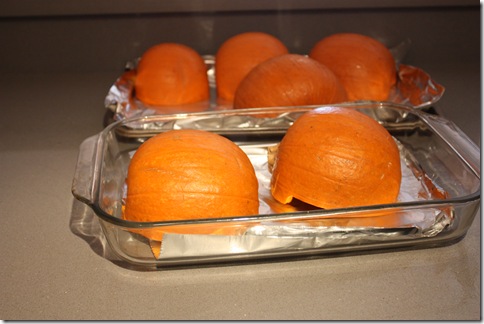
Preheat oven to 350*. Wash pumpkins well. De-stem and cut in half. Scoop out guts-I found that the scoop you get in carving pumpkin kits works the best.
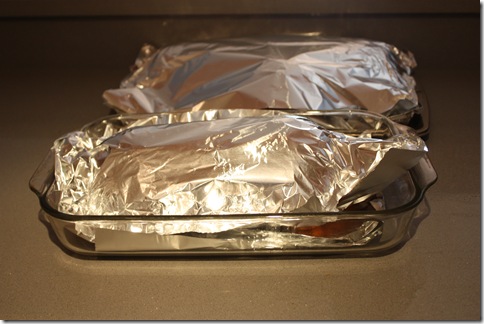
Place pumpkins face down on a foil lined cookie sheet and cover with foil.
Bake in oven until soft. ~1.5 hours.
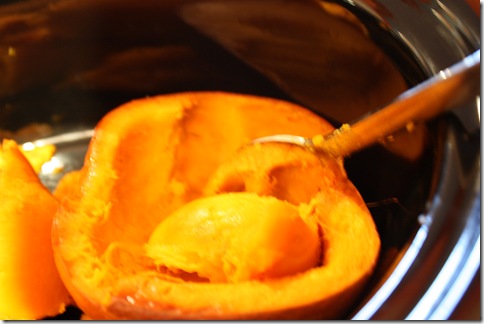
When pumpkins are cooled, scoop out the insides and discard the skin.
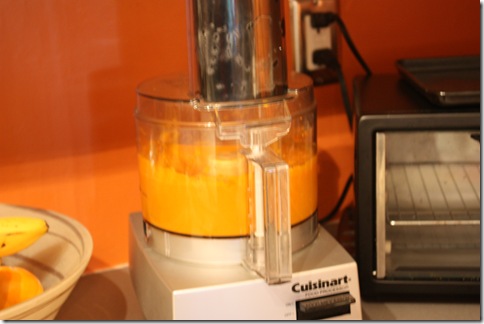
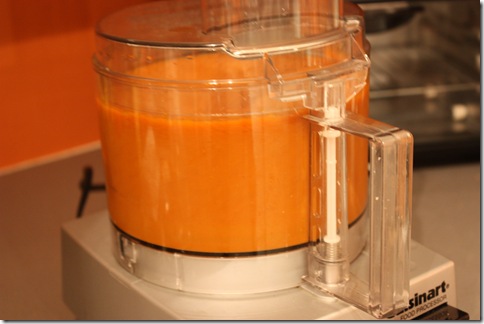
Run it through the food processor in batches to get pumpkin puree.
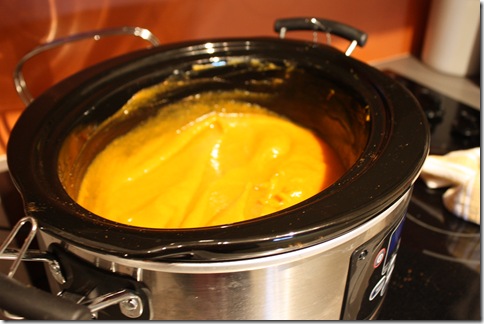
Place pumpkin puree, honey, syrup, apple juice, lemon zest and juice, and all spices EXCEPT the vanilla in a crock pot and stir WELL. Alternately you can do this on the stove and bring it to a low simmer and stir it often and WATCH it.
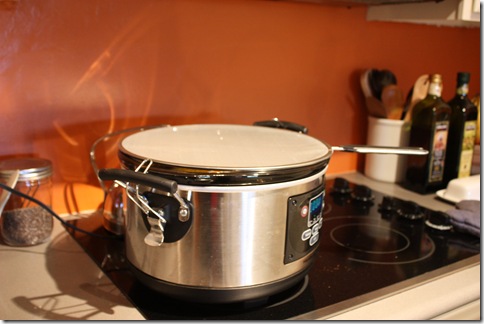
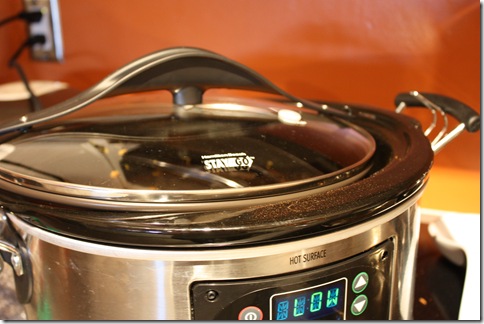
Cover with a splatter guard or put the lid on half way. If you leave the lid on it won’t reduce because the steam will be trapped in the pot.
Splatter guard (preferred):
Lid:
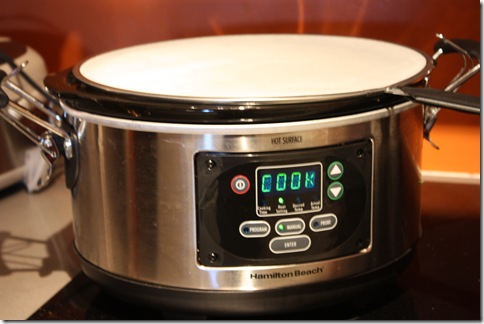
Then cook:
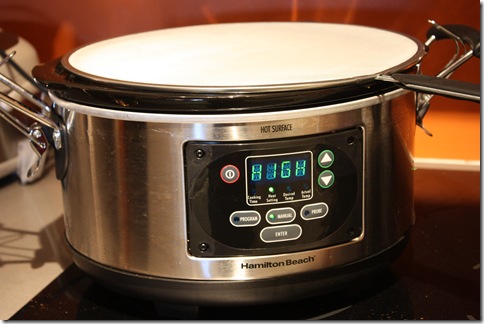
On high for 4 hours:
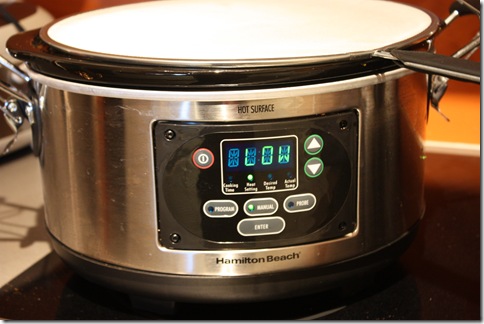
Then on low for another 2 or so hours:
Stirring occasionally. Some people just put it on low and let it go overnight or while they’re at work. That made me nervous and I wanted to stir it so I did it while I was home.
Once it’s to a consistency you like, place it in a container and store overnight in the fridge.
The next day, run it through a food processor again and add the vanilla.
ENJOY!
*Please Note: Some recipes out there will tell you that you can put pumpkin butter in a warm bath to can it and that it will be good for up to a year. The USDA does NOT recommend canning pumpkin butter-it does not keep well and can grow dangerous bacteria. It can however be kept in the freezer up to 1 year and in the refrigerator for 3-4 weeks.
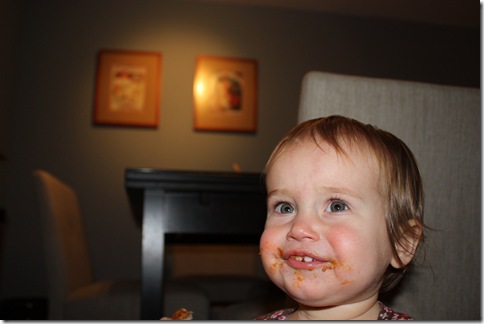
Lucy gave it 2 thumbs up!
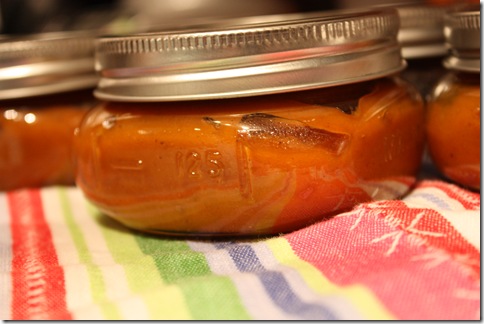
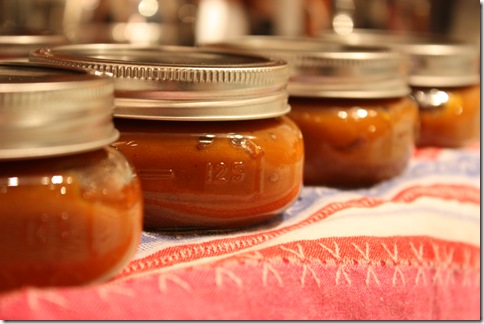
*This made 10 pint jars of butter.
Category: Gluten Free, Recipes 20 comments »




Awesome! I’m saving this recipe for sure because the one I made last year didn’t hold a candle to TJ’s.
Speaking of TJ’s, if you want to send me those extra 6 jars, I will gobble them down!!
OMG!!! This recipe is amazing! I’m going to make this. Thanks!
WOW how awesome, I would love to try this!
Thanks for the recipe. I’ve made pumpkin butter before, but it had much more refined sugar. I made your recipe yesterday with the last of my CSA pumpkins and it is delicious.
I’m so glad you liked it!!!
[…] the local Beard Papa (we JUST got one in San Mateo) for some cream puffs. I may take in some pumpkin butter but I can’t figure out what to take with the pumpkin butter that is […]
Thank you so much for this again! Will definitely try your recipe when I get my hands on a pumpkin!
[…] version ANYWHERE-I even asked the yogurt lady at Whole Paycheck. I just mixed a little of my pumpkin butter in with some Greek yogurt. It’s pretty good but I bet it’s not as good as the real […]
[…] These puppies will be good for at least another year, BUT, I’ve got a freezer full of my own YUMMY pumpkin butter. So you get to enjoy the […]
[…] had peanut butter and pumpkin butter (YOM) on […]
[…] we got home, I had a piece of toast with peanut butter, pumpkin butter, and cranberry […]
[…] I topped the toast with some of my pumpkin butter. […]
[…] Dump into a bowl and top with whatever. Today I just put some pumpkin butter and almond butter on a spoon. Kath made a very important discovery to oat eating that if you […]
Hey Chelsea I’m thinking about making your pumpkin butter this year and had a few questions. Do you remember how many jars this recipe made? Also, you mention Agave Nectar in the post but it isn’t listed in the recipe, do you remember if and how much you used? Also, do you store all of the jars in the refrigerator once you are done making it? So excited to make it and share with all my family and friends!
I *think* I made 8 jars. I need to alter the post since I no longer like to use Agave and did it with just Maple Syrup and Honey and it turned out perfectly. So ignore the whole Agave thing ;). And yes, unfortunately, to be cautious, since Pumpkin Butter is NOT shelf stable I stored them in the fridge and freezer. The jars froze REALLY well.
I should make some of this this weekend and let you know how it went!
It was 10 pint jars-I updated 🙂
[…] Make YUMMY Home Made Pumpkin Butter! […]
Whoo hoo! Its pickling ssoean! Definitely grab some pickling cucumbers while you can, home made pickles are amazing. Below is a refrigerator pickle that anyone can make provided you have a place to keep them chilled until you eat them up and a water bath process to make shelf-stable Bread and Butter Pickles for longer keeping. The spices can be found in the bulk section of your local Fred Meyer, PCC Natural Markets, or Whole Foods (many other grocers may sell them as well). Be careful with anything that contains turmeric its a rather bright yellow and can stain your towels and counter tops.Bread and Butter PicklesFrom American County Living, Canning and Preserving by Linda Ferrari (1991)4 quarts pickling cucumbers (about 6 lbs)4 large onions1/2 cup Kosher or pickling salt4 cups vinegar (I use apple cider, make sure you get a 5% acidity level)4 cups sugar1 Tbs celery seed2 tsp. turmeric2 Tbs. yellow mustard seed1 tsp. mixed pickling spicesSlice cucumbers and onions and alternately layer in a strainer, covering each layer with salt. Cover with ice and let drain for 3 hours. Add additional ice as needed. Drain and rinse thoroughly.Combine the vinegar, sugar, and spices in a large non-reactive pot and bring to a boil. Add the cucumbers and onions and boil again.Fill hot jars with cucumbers, onions, and brine, leaving a 1/2 inch headspace. Release air bubbles, wipe the rims of the jars, and seal. Process in a water bath canner for 10 minutes. Makes 7 to 8 pints.Refrigerator PicklesFrom The Gardeners’ Community Cookbook, compiled and edited by Victoria Wise (1999)2 cups distilled white vinegar (5% acidity)1 cup sugar1/4 cup Kosher or pickling salt10 to 12 medium cucumbers, scrubbed and sliced 1/8 inch thick (about 2 lbs)1/2 medium green bell pepper, seeded and sliced into 1/8 inch wide strips1 large white onion, thinly sliced2 to 4 cloves garlic, thinly sliced1 Tbs pickling spices2 Tbs dill seedWash and sterilize 2 quart jars and plastic screw top lids. In a large bowl, whisk together the vinegar, sugar, and salt until dissolved, set aside.Layer the cucumbers, peppers, onions, garlic, spices, and dill in the jars. Pour the vinegar mixture into the jars it will not cover the vegetables at first, but they will release liquid as they cure.Cap the jars tightly and put in the refrigerator for one week, turning the jar upside down and shaking a bit once a day to keep the ingredients mixed. Serve after one week or continue to store in the refrigerator for up to six months.Note: If you’re just starting out, beware that refrigerator pickles are a gateway drug. I started making these, and they were so easy and good! It gave me the courage to ask my grandmother how to make her famous pickled beets. It’s a treasured memory and family taste now that my grandmother has passed on. I now have a water bath canner and make pickles, jam, fruit, tomatoes, pasta sauce, etc. just like grandma did.
That’s a smart answer to a tricky question
This is way more helpful than anything else I’ve looked at.