Category: How To


My Food Philosophy with the Kidamaru

March 16th, 2010 — 12:40pm

This has come up twice today so I thought it may be a good time to post about how I feed Lu.

Remember when my sister sent me this book?

image

Well I voraciously read it and I have to say that I almost completely agree with her viewpoint on feeding children.

I mentioned this quote before but I think it bears repeating:

"You can’t control or dictate the quantity of food your child eats, and you shouldn’t try. You also can’t control or dictate the kind of body your child develops, and you shouldn’t try. What you can do, and it is a great deal, is set things up for your child so she, herself, can regulate her food intake as well as possible, and so she can develop a healthy body that is constitutionally right for her."

The book also helped me to understand why I have some of the food issues that I have.  It was a wonderful “a-ha” moment.  It was originally written in 1978 and revised in 2000 so it is quite current but it also touches on some of the beliefs around nutrition from my childhood.  The author is a nutritionist and a psychologist and most of her beliefs are backed up by studies.  It’s a wonderful read and I recommend it to everyone!  I think it would be interesting to read even if you didn’t have kids but maybe I’m a bit weird (well I KNOW I’m a bit weird).

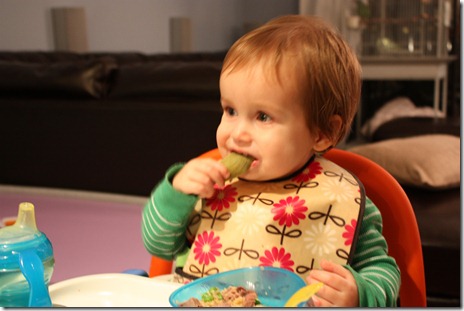
MANY people have commented about the variety of food Lu eats and what she’ll actually eat.  She is only 17 month old (almost 18-*gulp*) but I think that her “mature palate” has to do with the way we’ve fed her.  I hope that she continues to be adventurous with food and we don’t go down the route of PB&J at every meal.

IMG_5355

Here’s what we do:

-First it started with introducing her to solids.  I made sure to give her all sorts of different homemade baby foods (it doesn’t need to be homemade-I just really enjoyed making it).  I didn’t let my preferences dictate what I gave her.  I HATE papaya but I tried it with Lu and she LOVED it.  I used Wholesome Baby Foods to guide me on what to give her at the different stages and I adhered (pretty strictly) to the 1 new food every 3 days rule.  It helps rule out any allergies.

-Once she hit about a year (maybe a bit earlier) she started getting what we ate.  I would cut it up in kid appropriate sizes but she mainly ate what we were eating.  At this point the only thing she wasn’t eating was shellfish and peanut butter so everything else was fair game.

-If she asks for something that I’m eating, even if I think she’ll hate it, I let her have some.  Except raw sushi and alcohol (or anything else potentially dangerous). You wouldn’t believe some of the things she loves! Beet juice anyone?

IMG_4747

IMG_4749

-Very importantly we sit down for dinner as a family every night. Very rarely do we not eat together as a family.  It makes for a hectic time after work but I feel very strongly that she should eat with us and that we should all sit down together.  On the weekends we eat breakfast (usually) as a family but not lunch.  Lu eats lunch at 11 and naps at 12-which is a bit early for us.  Sometimes I eat a snack while she’s eating lunch.

-She gets food at a predictable time and at predictable intervals. Breakfast is around 8, snack at 9:30, lunch at 11, snack at 2:30 and 5, dinner at 6:30.  Daycare helped to establish this schedule but it is important.  She shouldn’t ever feel like she doesn’t know when the next meal (or mini meal) is coming.

-She always has free access to water but milk is only given at meal times and at some snacks.  You don’t want the kiddos to fill up on milk and then not eat solids.  We normally don’t do juice but if we did, it would only be given with meals.

-I feed her wholesome, healthy, and good tasting meals that are high in (good) fats.  She needs it for brain growth.  A lot of time I add butter, olive oil, or avocado to her meals in order to bulk them up. 

-Additionally, she very rarely gets processed food BUT I don’t make it taboo either.  I give her “bad foods” on occasion and don’t make a big deal about it.  Ellyn Satter actually recommends giving your kid a plate of cookies and milk for a snack every once in awhile (NOT everyday) that way things aren’t looked at as “treats” but more just as food.  I tried this with Lu with Oreos-she hated them.  She does like other cookies though!

-On the treat note, she recommends giving your child dessert with dinner. She doesn’t get treats every night but when I think of it she gets her treats with dinner or none at all. Amazingly she’ll take a bite of cookie and then eat broccoli. She did that last night. This way she decides when she’s full. The theory is that if you offer kids cookies at the end of a meal, they may already be full but will eat it because it’s a treat which teaches them to eat past their fullness. She gets more of everything on her plate (if she asks for it) EXCEPT the dessert-that is a set amount. The first night we did this she asked for more but I explained that that was it and she got mad and then kinda shrugged and ate other stuff on her plate. She also now leave cookies uneaten on her plate when she’s full :-o

-I don’t make “kid food”.  Sometimes I alter things slightly but by and large she eats what we eat.  I make sure to have something on her plate that I know she’ll eat-bread, crackers, pasta, rice but it’s up to her to decide what she wants and what she doesn’t want.  Her plate always has protein, veggies, carbs, and healthy fat on it.  It’s her choice to eat what’s on her plate. 

-She gets as much or as little food as she wants (except for the aforementioned “dessert” with dinner).  This even holds true for cookies at snack, the bread at dinner and so on.  If she wants more and she’s sitting in her high chair or at her table-I give it to her.

-We try not to let her roam with food.  We try to get her to eat it at the table or at her high chair.  Sometimes snacks turn into roaming but breakfast, lunch, and dinner are eaten at the table.

-If she doesn’t eat what we’ve offered and wants down from the table we let her down.  She doesn’t get anymore food until at least an hour has passed unless she wants to come back up to the table and eat what we’ve offered.

-I talk to her about all of this.  I tell her that it’s okay if she doesn’t want something but she will not be getting anything else for at least an hour.  Sometimes she reconsiders. 😉

-I try not to make a big deal about what she is or isn’t eating.  Sometimes this is hard though 😉

I *think* that’s it.  Do I always follow these rules 100%?  Nope but I sure try!  Is this the only way?  Nope but it’s working for me.  Could she become one of those kids who will only eat one thing and one thing only?  Maybe but I sure hope not!

20 comments » | How To, How To

Artichokes

January 29th, 2010 — 8:22pm

Last weekend, while at the Farmer’s Market, Beth commented that she hasn’t been brave enough to cook her own artichokes.  I grew up on artichokes-we always used to FIGHT over the heart and my Dad would cut it up into little slivers for us.  They’re actually quite easy to make! Beth this is for you!

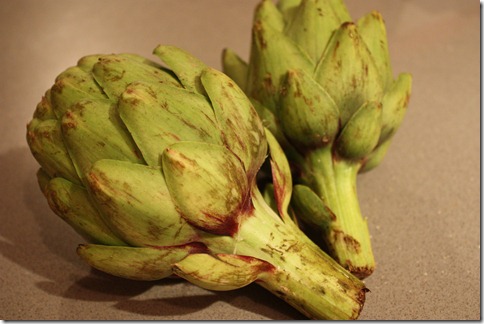
1. Get some artichokes!

IMG_4721

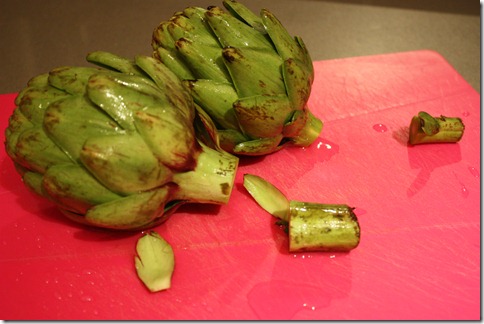
2. Cut the stems off.

IMG_4722

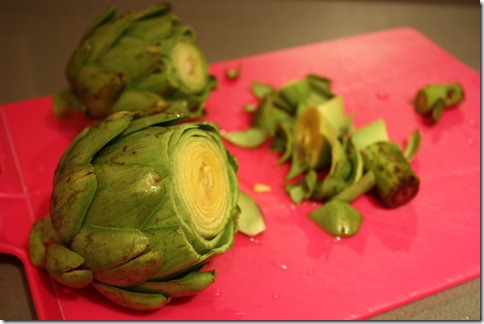
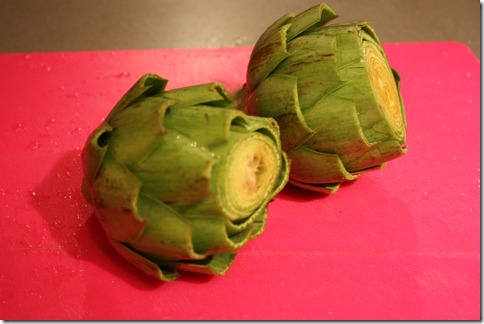
3. Cut the tops off.

IMG_4723

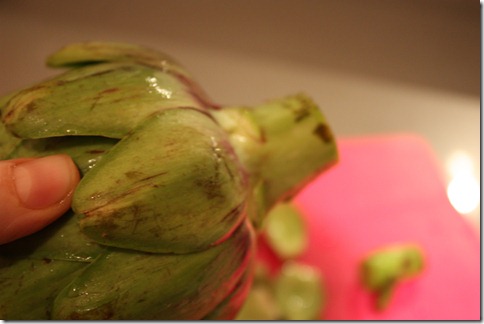
4. Rip the little leaves off the bottom:

IMG_4724

5. Trim the tips of the leaves with scissors.

IMG_4725

6. Put about 1.5 inches of water into a pan with a steam insert.

IMG_4726

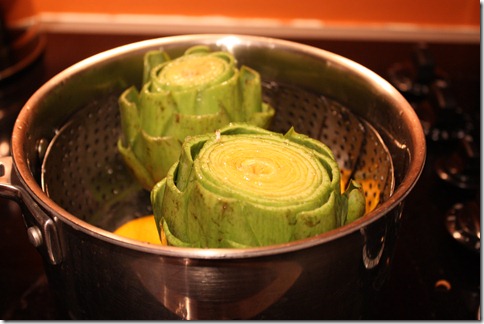
7. Rub artichokes with lemon, place into insert-base of artichoke down, and squeeze lemon juice over the artichokes. Then add lemons in with the artichokes.

IMG_4727

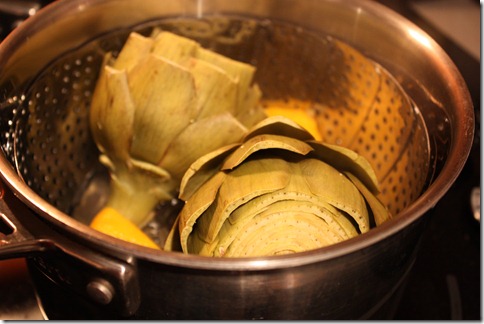
8. Cover, bring to a boil, and then simmer for 30-45 minutes. Make sure your pan has enough water throughout (I’ve ruined a pan making artichokes with not enough water). At 30 minutes, test for doneness.  Test by trying to remove a leaf-if it comes easily, taste it-if it’s the right consistency (not tough) it’s done.  If it’s still tough, cover and check every 5 minutes until it is the right consistency. 

IMG_4731

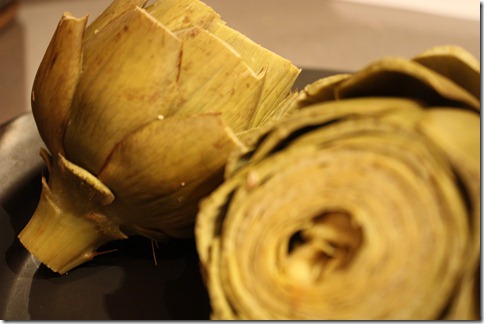
9. Remove from pan and let cool.

IMG_4734  IMG_4733

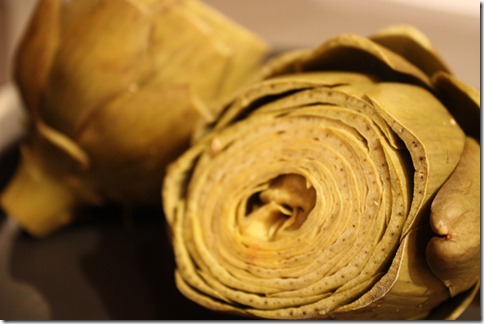
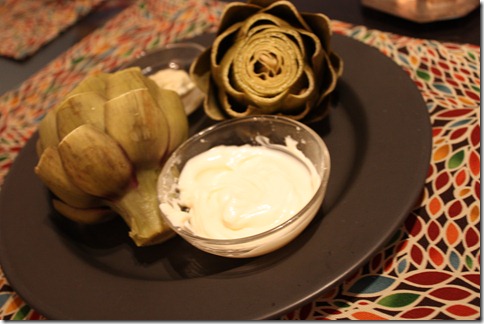
10. Enjoy! I serve mine with mayo and reduced balsamic vinegar.

IMG_4737

Lu liked them!

IMG_4743IMG_4744 IMG_4742

4 comments » | How To, How To

Cook the Perfect Steak

January 29th, 2010 — 8:08pm

*Warning-pictures of meat-raw and cooked.  If meat grosses you out, read no further.*

I cook a MEAN steak.  My secret weapon?

IMG_4728

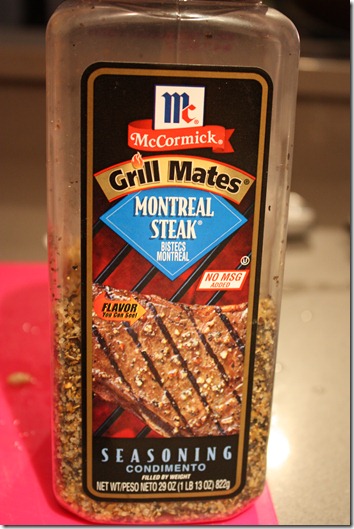
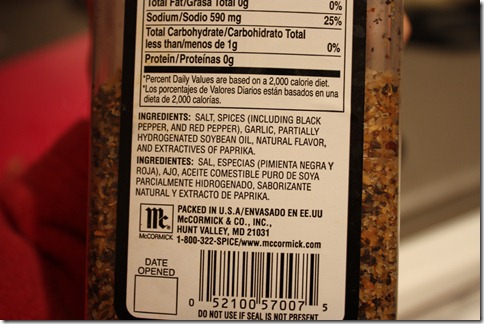
McCormick Montreal Steak Seasoning. I get it at Costco and use it on almost all of my grilled meats.  It does have one evil ingredient:

IMG_4729

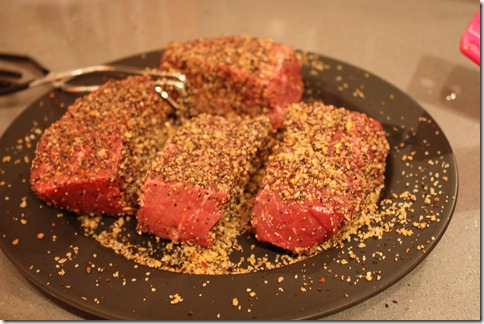
PARTIALLY HYDROGENATED SOYBEAN OIL *shudder* It’s worth it.  This stuff is amazing.  I cover the steak on all sides with the seasoning.

IMG_4730  

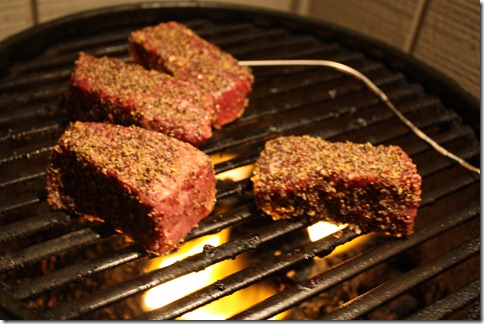
Meanwhile, I have a clean grill heating up, on high. Once the grill hits between 600-700 degrees, I throw the steaks on with my handy dandy temperature probe:

IMG_4736 

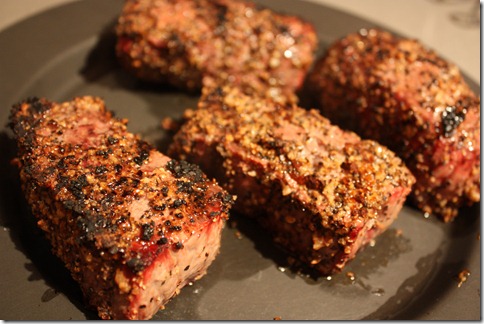
After about 6 minutes I flip the steak.  Then I wait for the probe to hit the desired temp (130 for medium-rare, 140 for medium, 155 for medium well, 160 for well).  If you don’t have a temperature probe total cooking times vary depending on the thickness of your meat but a good guide is: 10 minutes total cooking time for medium-rare, 15 for medium, 20 minutes for well done.  A medium-rare steak is soft, a medium steak is firm but yielding, and a well done steak (ick) will be firm.

Remove it from the grill and then let your steak rest for 5 minutes-it’ll continue to cook and will rise about 5 degrees.

IMG_4739

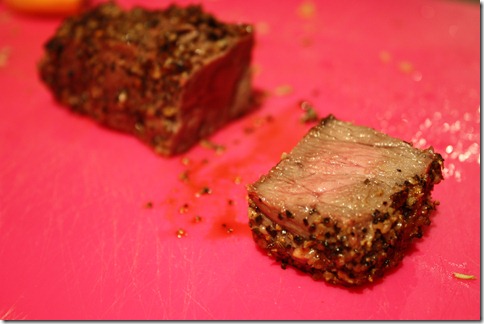
I cooked Lu’s medium:

IMG_4740

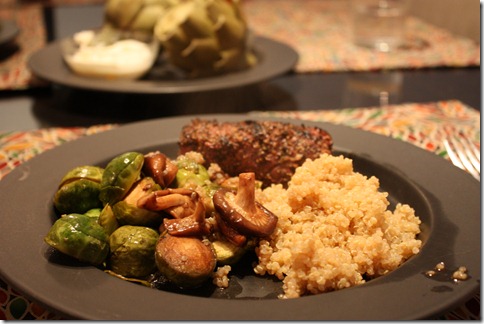
Shaun and I like ours medium-rare. YOM.

IMG_4741

3 comments » | How To, How To

How To Make KILLLER Oatmeal

December 13th, 2009 — 11:13am

My friend Mel asked for an oatmeal tutorial.  My first thought was “I can’t do an oatmeal tutorial, that’s Kath’s thing.” But then I realized that I have my own method, and I’ve been making them this way (with a few tweaks) since college, so here’s my how to.  For a complete tutorial on Kath’s method, check out her Tribute to Oatmeal. She even has a video!

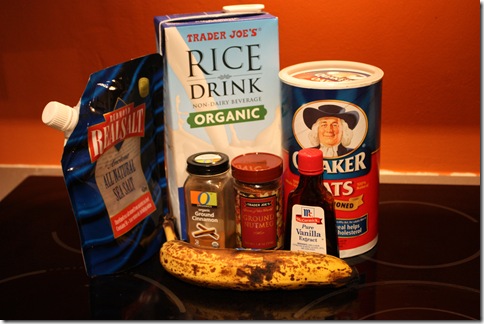
First the ingredients:

006

-Old Fashioned Oats (not quick cooking)
-Banana
-Milk (I use Rice Milk because of my lactose intolerance)
-Water
-Salt
-Vanilla
-Cinnamon
-Nutmeg

Instructions:

Before we get to the actual instructions you’ll want to figure out how much you want.  The basic ratio is the same as with rice-1 part oats to 2 parts liquid. If I’m really hungry I do 1/2 cup of oats or if I’m not as hungry or I’m going to put a ton of toppings on I do 1/3 cup oats.  Today I did a double batch of a 1/3 cup serving.

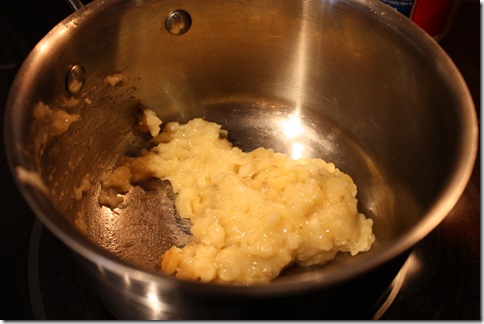
1) Mash your banana up until it’s glistening. I use 1/2 a banana per serving.

009

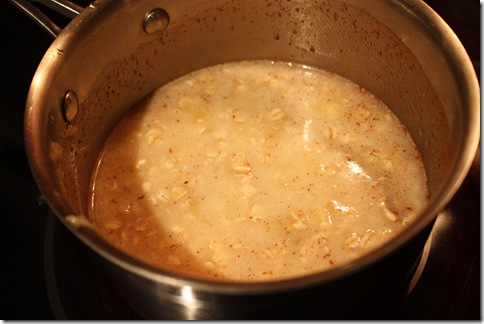
2) Add your oats, liquid (to cut calories do 1/2 milk and 1/2 water-so today since I did 2/3 cups oats, I did 1/3 cup milk, and 1/3 cup water-when I was preggers I did all milk, no water), and spices. For the spices I just eyeball it-a dash of salt, about 1/2 tsp of cinnamon, about 1/4 tsp of nutmeg, and a splash of vanilla.

011

3) Cook on medium to medium/low heat, stirring occasionally. If you cook them at too high a heat they stick and burn-boo!

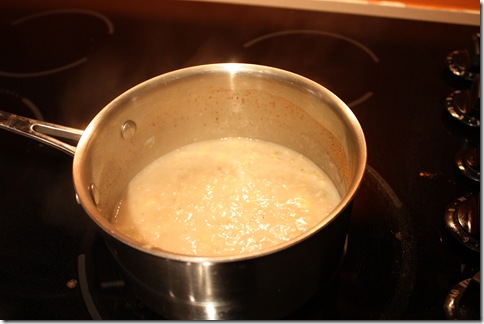
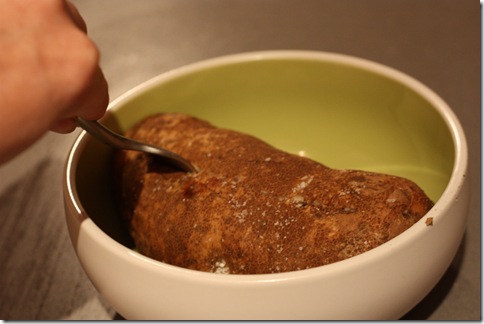
4) After about 10 minutes, they get to this consistency:

012

(I should have taken a better close up) When they’re almost at a consistency that you like, turn off the stove and let them sit for a minute or so-this helps them not to stick to the pan and makes clean up easier.  If you have Teflon you probably can just cook them to where you want them and don’t have to worry about this step.  We can’t have Teflon or any nonstick surfaces in out house because it’s potentially lethal to birds.

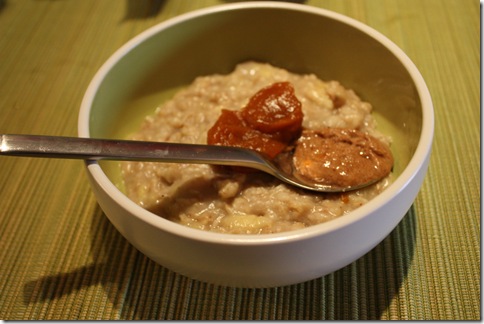
5) Dump into a bowl and top with whatever.  Today I just put some pumpkin butter and almond butter on a spoon.  Kath made a very important discovery to oat eating that if you put your nut butter on a spoon and eat the oats off of that you get a bite of the butter with every bite.  If you mix it in, the flavor gets lost. Other toppings that I love: coconut, granola, berries, maple syrup-be creative!

020

6) In my house, you can’t forget the bird!  She knows what oatmeal making looks/sounds like and she BEGS for hers.  She get’s a serving (notice the dab of almond butter for her):

017

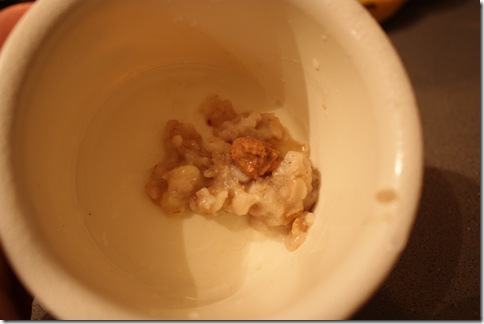
She eats it greedily:

019

I hope you enjoy!  I now make a big batch on Sundays and just reheat it at work.  It’s not quite as good as freshly made but it’s still better than instant!
8 comments » | Gluten Free, How To, Recipes

How To Bake AWESOME Potatoes

November 13th, 2009 — 8:32pm

The plan was to make fajitas tonight.  I had the meat marinating and everything.  But, Shaun had to work late and it’s almost impossible to cook dinner all by myself without really upsetting Lu.  She’s not supposed to cry right now, due to the croup (not that we let her cry all that often) and Mommy in the kitchen would definitely have resulted in a crying Lu.

I thought about what I should make, and remembered that I had some potatoes that needed to be used.

Most people have probably baked a potato but I recently went searching for the best way to bake a potato and I think I’ve found it. 

1. Start with nice sized, well cleaned and dried russet potatoes.

2. Use a paring knife to cut deep slits in the potato. I do 3-4 slits per side.  This allows the steam to escape.

3. Rub the potato with olive oil and then rub with kosher salt.

4. Place potatoes in a preheated 350* oven on the middle shelf. I like to place a casserole dish with some foil in it directly under the potatoes to catch any drippings and help keep my oven clean 🙂 Many people wrap their potatoes in foil to help them cook faster, but this results in a steamed potato that doesn’t have delicious crunchy skin.

006

5. Bake for about an hour. You’ll know they’re ready when you squeeze them (using a pot holder) and the are nice and squishy.

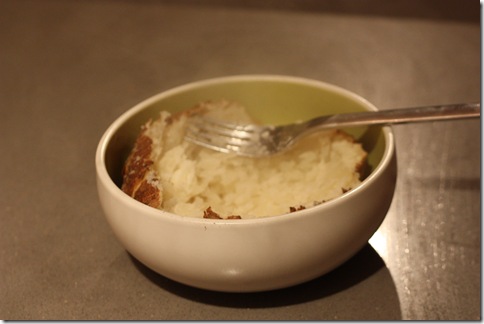
6. Use a fork to split the potato.

009

7. Mash up the insides.

010

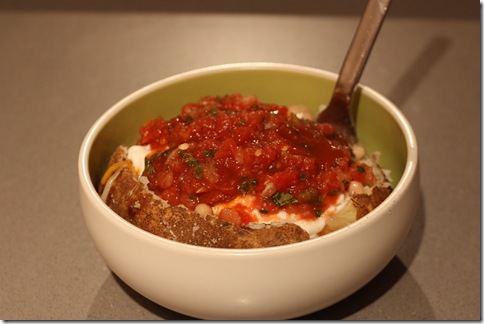
8. Add your favorite toppings and ENJOY!
012

This one had a little cheese (my tummy is already mad), navy beans, greek yogurt, salsa, and Tapatio hot sauce. YOM.

4 comments » | How To

Back to top