Category: Gluten Free


POMegranate Cherry Lime Granita

June 28th, 2010 — 7:07am

IMG_6714
IMG_6716IMG_6715

We arrived in Boise on Saturday (long post about that to follow!) and man does it feel like summer here!  It has yet to feel like summer in the Bay Area so the heat and sun were a welcome change.  It was in the 80s on Saturday, the 90s on Sunday, and it’s rumored that we’ll hit 100 today!  No worries, it’s supposed to cool down to the 80s by mid-week and stay there for awhile.

POM Wonderful contacted me last month to see if I’d like to contribute to their POM Summer Menu Series.  Y’all know how much I love pomegranates-I wrote an homage to them back in November! I gladly accepted even with all the moving madness.  So for the next month, you’ll be seeing a POMegranate inspired recipe once a week.

POM Summer Series Badge

This week I was asked to make a dessert. Last night, we headed over to my sister’s for dinner and I had plans to make a granita. It’s cherry lime flavored as an ode to my old favorite Sonic Cherry Limeade slush that I now think tastes awful.  Super easy, no fuss, cool, and healthy-perfect for my moving madness! This is way better than a Sonic Cherry Limeade slush-hands down!

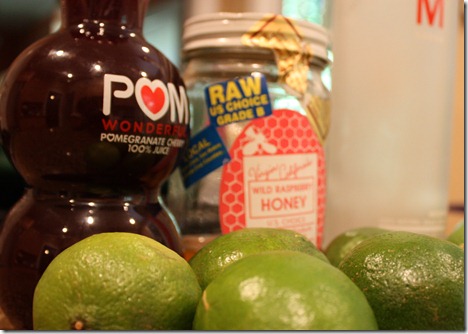
You only need four ingredients.

IMG_6676

Ingredients:

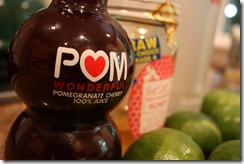
-16 ounces POM Wonderful pomegranate cherry juice
IMG_6678

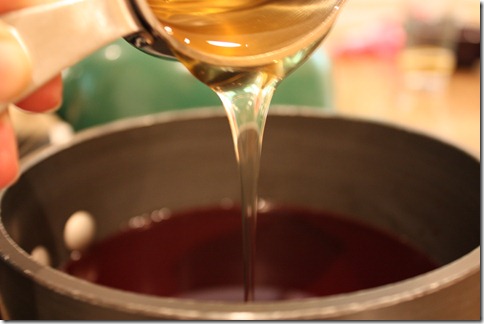
-1/4 cup honey
-1/4 cup lime juice
-3 TBSP vodka (this only serves to keep the mixture from freezing solid-no real alcoholic content. Alternately, you can use no vodka but will need to place the frozen mixture in a food processor.)

Instructions:

-Mix pomegranate juice with honey in a small saucepan over medium heat to combine.

IMG_6682

-While that’s cooking, squeeze the limes.

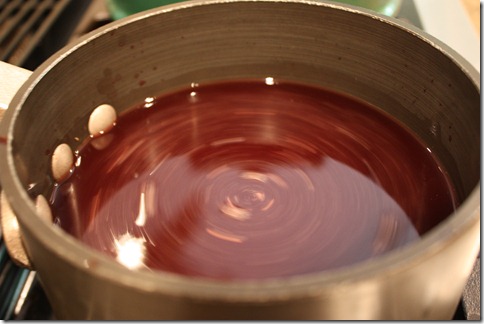
-Whisk the juice mixture numerous times. When you start, you can feel the honey on the bottom of the pan.  You know it’s done when there is no longer any resistance from the honey.

IMG_6683

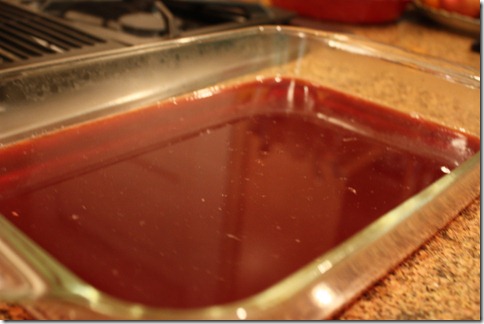
-Whisk in the lime juice and vodka and add to a shallow pan.

IMG_6684

-Place the pan in the freezer.

-Go play.

IMG_6698

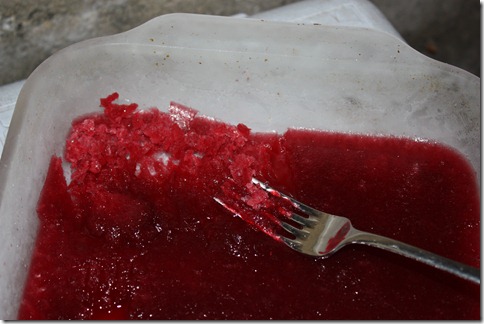
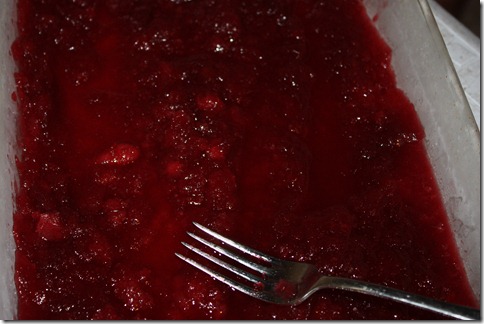
-After an hour, use a fork to break up the ice mixture.

IMG_6703

IMG_6704

-Place it back in the freezer.

-Go play for another hour.

IMG_6701

-Mix it up again.

IMG_6706

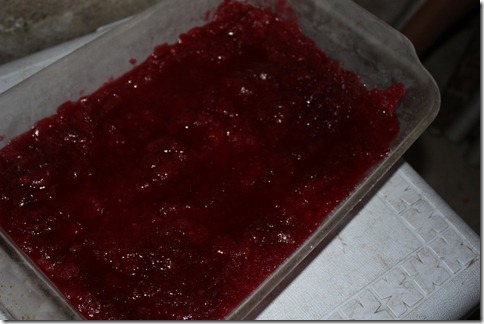
I had to put this down in my brother-in-law’s man cave freezer-hence the cooler in the above picture. 

-Go enjoy dinner and watching the cousins giggle hysterically and kiss each other unprompted (and know that you 100% made the right decision moving to Boise).

IMG_6709IMG_6710

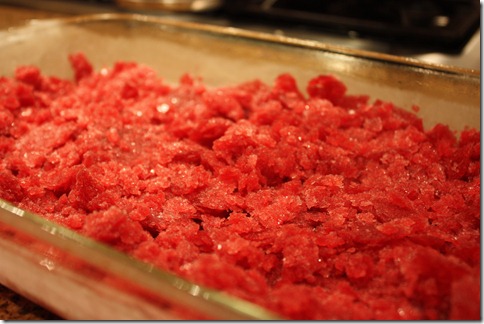
-After about another hour, your granita will be done.  Mix it up a final time.

IMG_6711 

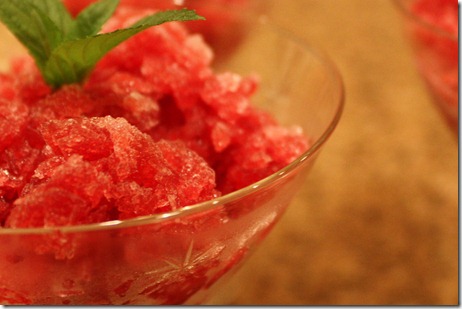
-Scoop it into pretty serving bowls.  Garnish with lime and mint (optional) and enjoy!

IMG_6714

-Seriously YOM.  Shaun rated it a 3.5 out of 5 (high praise for a dessert from him) and my sister rated this a 5.  She LOVED it, as did I.  She thought that it would be delicious with a thin mint or a chocolate wafer cookie for those of you out there with no gluten allergies.  I may pair it with a square of good dark chocolate next time.

I would make this again in a heartbeat. It’s perfect for warm summer evenings-very refreshing and cool.  It was thousands of times better (and better for you!) than a cherry limeade slush.

YOM!

6 comments » | Gluten Free, Recipes

Stuffed Cabbage

April 14th, 2010 — 4:56pm

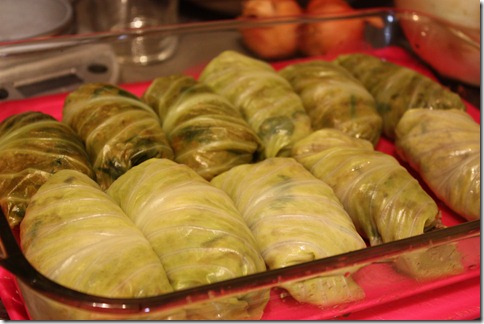
I’m married to a Pennsylvania boy and I’m a California girl.  When we met our food preferences were VERY different.  They still are but we’ve found some common ground.  One thing that Shaun asked me to make and that I had never had was Stuffed Cabbage.  An acquaintance gave me a recipe, which I modified (in true Chelsea fashion) and now this is one our most favorite meals.  It even awakened a love of Sauerkraut that I never knew I had!
IMG_6016

Ingredients:

-1 head of green cabbage
-1/2 onion, chopped
-6 cloves of garlic, chopped
-1 pound leanest ground beef (ground poultry works well too)
-8 ounces of mushrooms, chopped
-1.5 cups cooked rice/grain
-1 TBSP Braggs Amino
-2 tsp garlic powder
-Ground pepper to taste
-1-16oz can of chopped tomatoes (optional-I can’t have tomatoes right now but I usually do add this)
-1 jar tomato marinara (optional)
-1 large jar of Sauerkraut

*The filling is the same as my stuffed peppers

Instructions:

-Preheat the oven to 350*

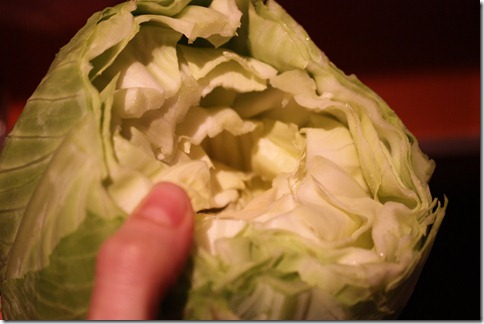
-Cut the stem off of the cabbage.

IMG_5984

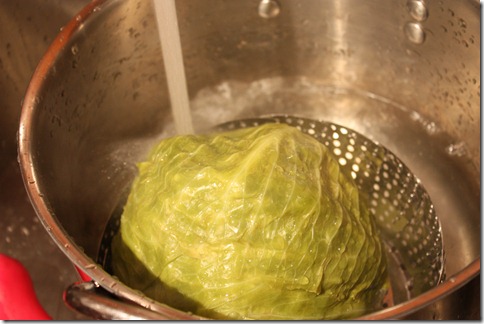
-Steam the cabbage for about 15 minutes or until the leaves are wilted but still hold shape.

-While the cabbage is steaming, brown the onions and garlic until glistening.  Add ground beef.

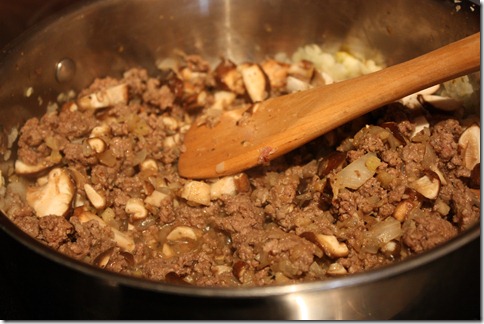
-Once the ground beef is almost cooked, add the mushrooms and seasonings.

IMG_5985

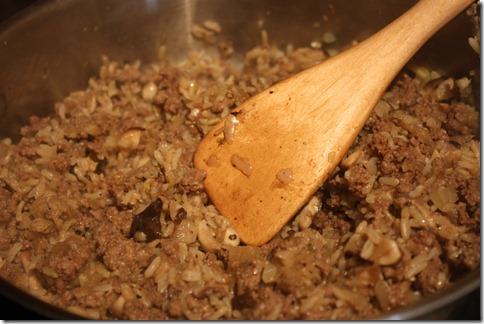
-Add the cooked rice and stir to incorporate.

IMG_5986

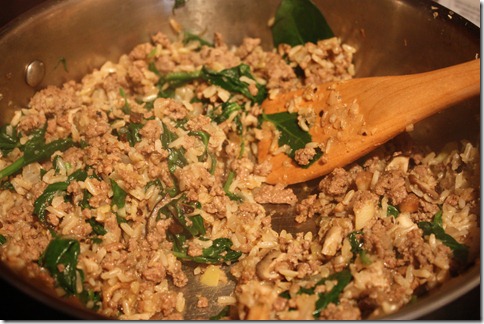
-I have an abundance of spinach so I added some of that too (really you can throw anything that wilts down in this filling). This is the point where I would normally add the tomatoes.

IMG_5988

-When the cabbage is done, douse it with cold water so that you can handle it.

IMG_5987

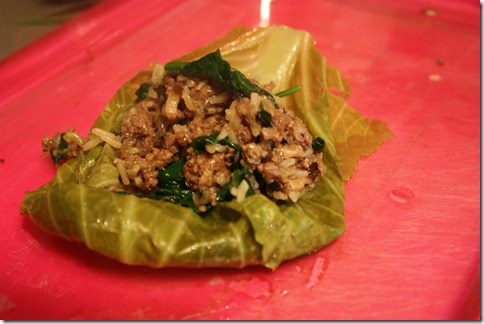
-Take one leaf of the cabbage and put about 1/4 cup of filling into it (in a rectangle pan).

IMG_5989

-Fold the cabbage around the filling to make a sort of burrito. I fold the sides in first and then use the stem and the base of my rolling.

 IMG_5990IMG_5991

-Repeat until you’ve used all the filling.

IMG_5992

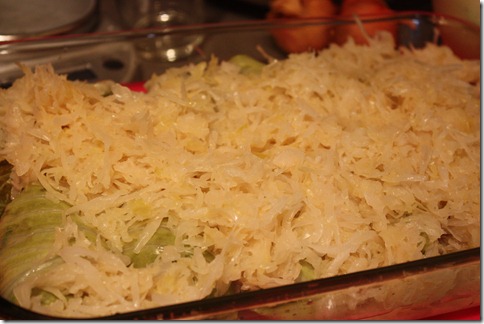
-Cover with sauerkraut-including the juice from the jar (and marinara, if using).

IMG_5993

-Place in oven and cook for about 20 minutes or until the sauerkraut juice is bubbling.

-ENJOY!

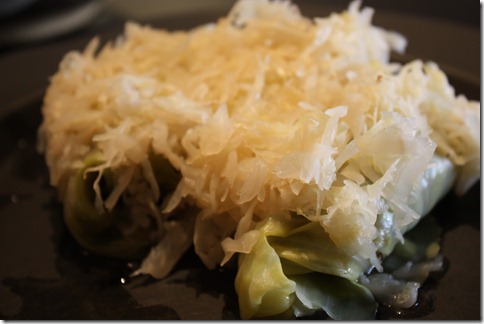
IMG_6015

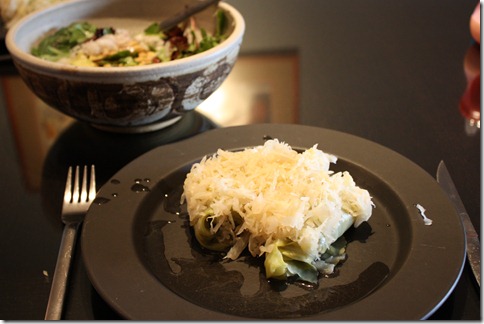
Shaun rates this a 5 out 5.  I give it a 4.  It’s really good but I find I need some additional veggies to accompany the meal (see the salad in the first picture).  Before this recipe, I HATED sauerkraut.  The fist time I mad this I made two pans, one with and one without.  The without pan just had tomato sauce.  I decided to try Shaun’s and it was SO.MUCH.BETTER.

See?  The Pennsylvania boy really did teach me a trick or two.  Don’t even get me started on pierogies!

13 comments » | Gluten Free, Recipes

Granola Bars

April 14th, 2010 — 4:30pm

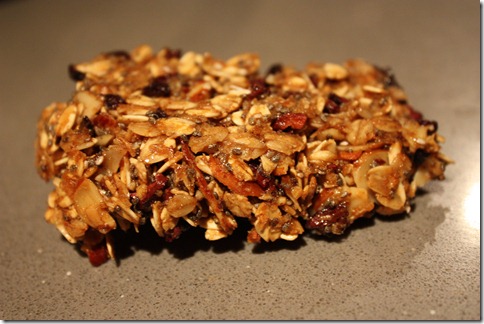
I’ve been meaning to post this recipe for weeks and my sister just asked me for it.  She actually had the granola bars and the fact that she wants the recipe tells me that it’s worth posting.  I never know when it’s something that only I eat. 

My best friend Elaina actually gets all the credit for this recipe.  It is her brainchild and I just changed it up a bit to make it friendly for my food restrictions.

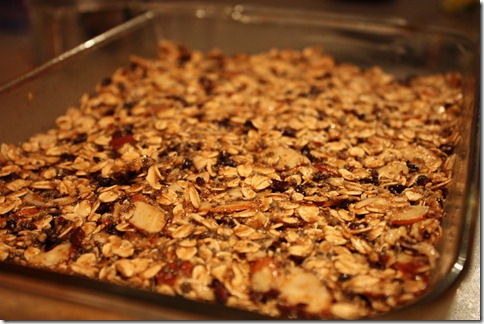
IMG_5646

Ingredients:

2 cups GF whole rolled oats
1 cup sliced almonds
1/2 flax meal OR sesame seed meal
1/4 cup reduced fat unsweetened coconut (shredded)
1/2 cup raw honey
1/4 cup maple syrup
1/4 cup unsweetened applesauce
2 tbsp natural almond butter
2 tsp natural vanilla extract
1 tsp cinnamon
1/2 tsp salt
1 scoop GF chocolate protein powder
1/2 cup chia seeds
3/4 cup cacao nibs

Instructions:

-Preheat oven to 350 degrees. Grease an 8×8 (thicker bars) or 9×9 (thinner bars) baking pan with nonstick cooking spray.

-Spread the first 4 ingredients (oats, almonds, flax/sesame meal, coconut) onto a shallow rimmed baking sheet. Put in oven 15 minutes, stirring once or twice.

-Meanwhile, combine all of the remaining ingredients except the chia seeds and cacao nibs in a medium saucepan. Cook over medium/medium-low heat until everything is dissolved and the texture is thin enough to easily pour. Stir frequently, and be careful not to scorch.

-Once the dry ingredients are toasted, remove them from the oven and turn the temperature down to 300 degrees. Once the dry ingredients are cool enough, combine them and the chia seeds and cacao nibs in a large mixing bowl and mix thoroughly.

-Slowly stir in the honey mixture, completely coating the dry ingredients.

-Immediately tip the contents into the square baking pan and flatten down with a spatula or wooden spoon. Be sure to firmly pack the contents into the pan.

-Bake for 25 minutes. Remove from the oven and let cool completely.

-Leaving the contents in the baking pan, cut into bars. Put the pan in the fridge to harden the bars the rest of the way.

-After 30 minutes or so, remove the pan from the fridge and liberate your granola bars. (total Elaina-ism that I’m keeping in here =D)

-Store in the fridge.

-Enjoy!

IMG_5650

I LOVE these things and totally give them a 5 out of 5.  They are softer than most granola bars and sort of fall apart but I don’t mind that at all.  They take some time, but are WORTH IT.  My niece, Tessa, LOVED them as well.  Lu likes them sometimes-when she’s in the mood ;).  Shaun, who usually turns his nose up at these sorts of things said it was good. 

Of note, Elaina uses plain protein powder and 1 cup dried fruit instead of the chocolate protein powder and cacao nibs which would be delicious too.

They are a great oatmeal, yogurt, and ice “cream” topper as well.

26 comments » | Gluten Free, Recipes

Chocolate Cake-Gluten, Dairy, and Egg Free!

April 8th, 2010 — 2:42pm

I recently purchased Lauren Hoover’s No Wheat No Dairy No Problem cookbook.  She’s a pastry chef who discovered that she’s allergic to both wheat and dairy.  She made it her mission to make yummy recipes.  This book accomplishes that.  The layout and look and feel of the book are not great but I can get past that.  Her desserts are what really jump out at me, all the other recipes, I feel like I could make gluten free on my own.  It makes sense, since she’s a pastry chef!

While in Idaho, I made her chocolate cake with some modifications.  She uses agave in her recipes and I don’t use agave anymore.  I also made some other tweaks to make the ingredient list not as exotic and expensive.  Though this cake is spendy-I won’t lie!

IMG_5800

Gluten Free desserts don’t have to taste like ass-YAY!

Ingredients:

For Cake:

-3 cups oat flour (you can just take GF oats and process them in the food processor to make GF oat flour-it won’t get super fine but it bakes up really well)
-1/2 cup cocoa powder
-2 tsp baking soda
-2 tsp baking powder
-1 tsp salt
-1/2 cup canola oil
-3/4 cup pure maple syrup
-3/4 cup honey
-2 cups light coconut milk
-2 tsp apple cider vinegar
-1 tsp pure vanilla extract

Cake pan needed:1 9×12 or 2 8-inch rounds

For Frosting:

-12 ounces at least 72 % dark, dairy free chocolate (I found chocolate chips and it was the cheapest way to go BY FAR)
-1 can of whole coconut milk (not light)
-1/2 cup cocoa powder
*If you use super dark chocolate, add some honey or maple syrup to taste, to sweeten this up a bit.

Instructions:

-Preheat oven to 350*. Oil pan (1 9×13 or 2 8 inch rounds) and coat with oat flour, remove excess.

-Combine all dry ingredients and stir.

-Combine all wet ingredients, stir, and add to dry ingredients.

-Mix until just smooth.  Do not over mix.  The batter will appear VERY watery-have faith!

-Pour into cake pan(s) and bake for 40-50 minutes or until a toothpick comes out clean.

-Let cool. If using round pans, remove cake from pans and let cool on wire racks.

-Once cool, bring the coconut milk to a boil on the stove.

-Pour the hot coconut milk over the chocolate and cocoa powder.

-Mix until smooth (I just used a spatula).

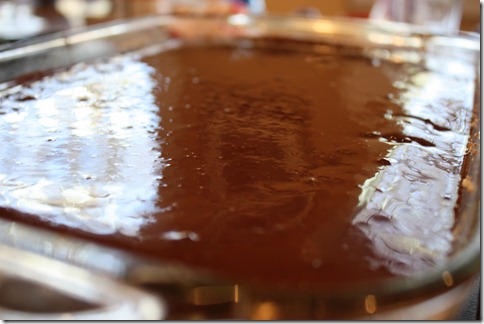
-Pour over top of cake.

IMG_5780

-ENJOY!

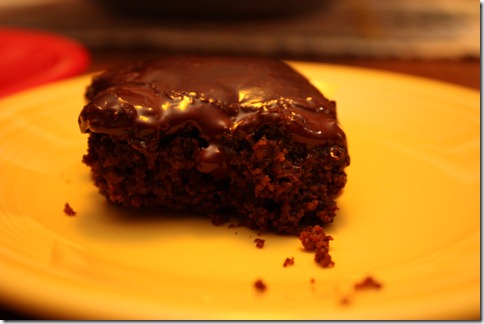
Yom! I give this cake a 4.5 out of 5 stars.  Shaun and my brother-in-law LOVED this and gave it a 5.  Here’s the rating system in case you’re new ;)  The cake was devoured in about 3 days.  It’s not too sweet and you’d never know it was missing gluten, dairy, or egg!  If it were a little less crumbly and more dense, I’d give it a 5!

14 comments » | Gluten Free, Recipes

Almond Pancakes

March 21st, 2010 — 8:30am

IMG_5643

Ever since I was told that gluten was off limits, my sister has been sending me recipes to try.  I usually get an email that’s like “You probably already know about this but look at this recipe!”  She has sent me some really AWESOME stuff.  A couple weeks ago a friend of hers made her these pancakes and she raved about them.  I knew I had to try them.  It looks like her friend combined these two recipes.  I altered mine a bit too. 

Here’s my adaptation.

Ingredients:

-1 cup almond meal (also called almond flour)
-2 eggs
-1 banana, smashed
-1/2 cup unsweetened almond milk (or any milk substance)
-1/2 tsp cinnamon
-1 tsp vanilla
-Oil or non-stick substance of choice

Instructions:

-Preheat a pan on medium high heat.

-Combine all ingredients.

-Place oil in pan-I noticed that I had to use a little extra because these stuck to the pan at first.

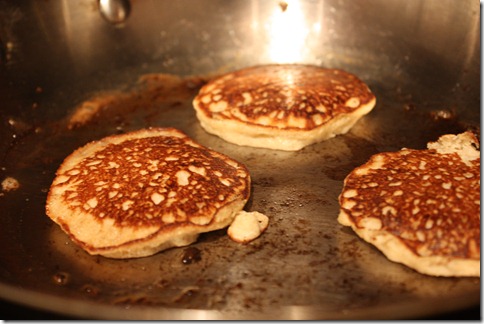
-Cook about a minute and a half on each side (the bubble thing WILL happen).

IMG_5641

-Enjoy!

IMG_5640

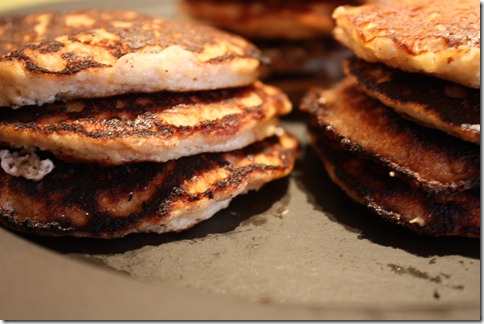
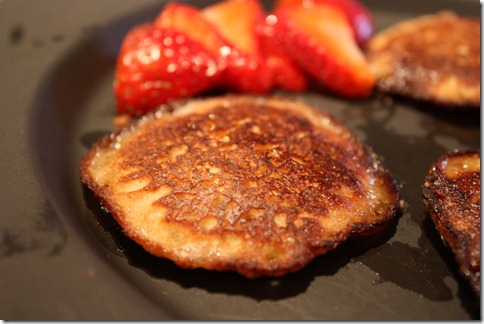
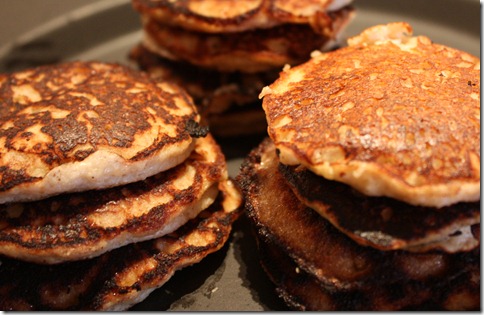
-This made 18 VERY filling but small pancakes.  I only needed 3 to feel full.

How did these rate?  I give them a 4.  Lucy gave them a 5-she ate 5 (!) pancakes (and 3 strawberries).  Shaun did not rate them since he doesn’t like banana in ANYTHING.  I’m going to make a banana free version next.

IMG_5642

Thanks Liss!

10 comments » | Gluten Free, Recipes

Stuffed Peppers

March 18th, 2010 — 4:09pm

My grandma, Ma, used to make some amazing stuffed peppers.  I’ve updated and “healthified” and “deglutenized” her recipe.

IMG_5597

Ingredients:

-3 bell peppers
-1/2 onion, chopped
-6 cloves of garlic, chopped
-1 pound leanest ground beef (ground poultry works well too)
-8 ounces of mushrooms, chopped
-1 cup (uncooked) grain-I used amaranth this time but rice and quinoa also work well
-1 TBSP Braggs Amino
-2 tsp garlic powder
-Ground pepper to taste
-1-16oz can of chopped tomatoes (optional-I can’t have tomatoes right now but I usually do add this)
-Cheese (optional)

Instructions:

-Cook grain according to package.

-Preheat oven to 350*.

-In a pan brown the onions and garlic until glistening.  Add ground beef.

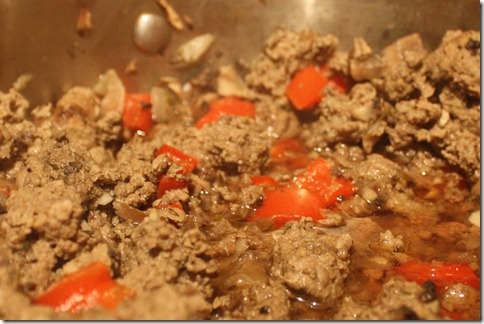
-Chop up ONE of the bell peppers and add it to the meat mixture with the mushrooms.  Add seasonings.  Cook until done-taste the mixture and adjust seasoning to your liking.

IMG_5586

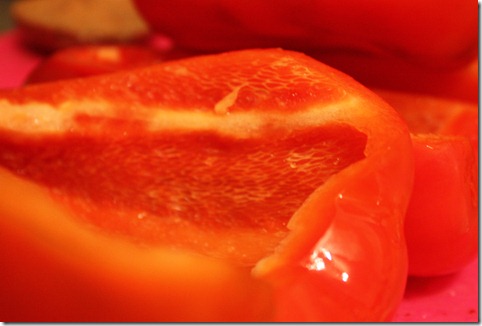
-While the meat mixture is cooking.  Cut 2 of the bell peppers in half and take out all the seeds and membranes. (side note: traditionally you cut the top off of peppers and stuff them that way.  This method adds the step of blanching your peppers since they don’t cook as quickly standing up, if you cut them in half, no blanching is needed)

IMG_5589

-Mix the grain and the meat mixture.

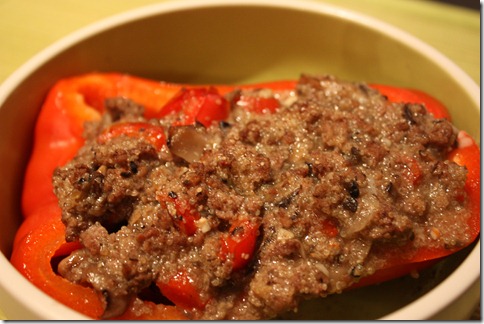
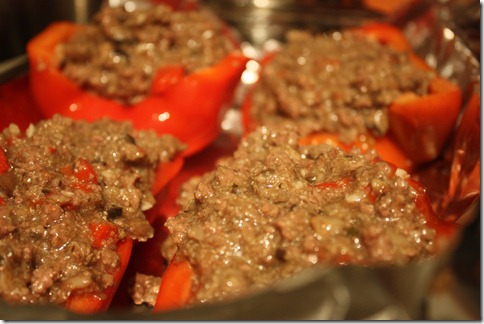
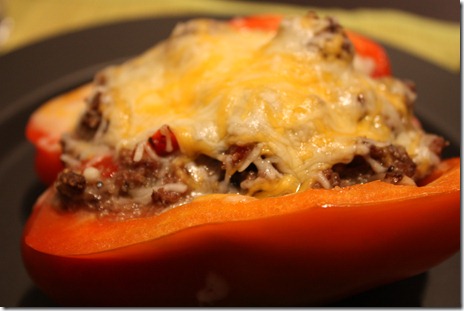
-Fill the peppers with mixture and place in an oven safe pan.

IMG_5590

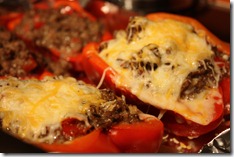
-Cook for about 20 minutes or until pepper is tender.  If adding cheese, top the peppers with cheese when there’s about 5 minutes to go.

-Enjoy!

IMG_5592IMG_5594
IMG_5595

Shaun LOVED this. He rated it a 4.  I thought the amaranth got a little lost in this and would probably use rice next time (like normal) but he actually liked it better with the amaranth.  He said that he didn’t know any grain was there and he thought it was all meat which is a good thing in his world ;).  Lu only ate the filling and really REALLY liked it.  It’s pretty quick and easy.

Of note, this is my basic “filling” recipe.  When I make stuffed cabbage, this is exactly what I do as well :).

6 comments » | Gluten Free, Recipes

Japanese Chicken

March 4th, 2010 — 5:09pm

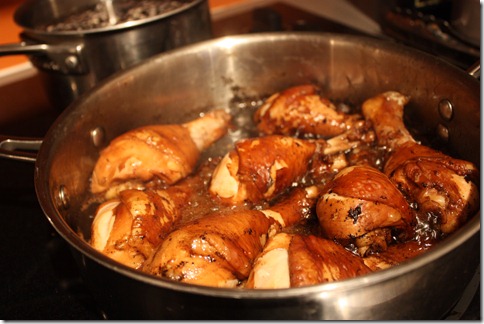
I found the original recipe on recipezaar by searching for “chicken” and then sorting by rating to get the top rated chicken recipes. It’s the fourth one down with almost 700 ratings.

IMG_5368

I’ve changed it up a bit to make it gluten and refined sugar free.

Ingredients:

-8 chicken drumsticks, skin on (you can do any cut of meat and you can take off the skin-the skin does make it taste amazing though)
-1 cup water
-1/2 cup balsamic vinegar
-1/3 cup Braggs Amino
-2 TBSP honey
-4 garlic cloves-peeled and bruised (just smush it under a knife)
-1 jalapeño, seeds removed

Instructions:

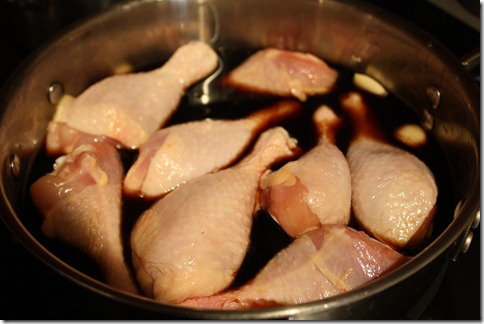
-Put all ingredients in a pan over high heat. 

IMG_5361

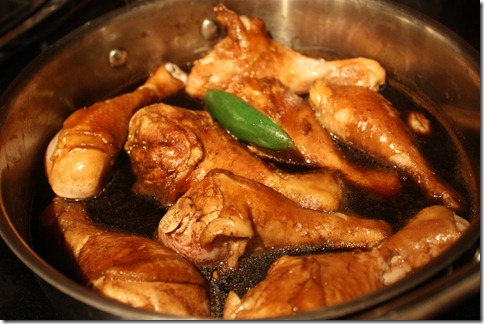
-Once it starts to boil, reduce it to a  a simmer.  Simmer for 20 minutes, uncovered-turning frequently.

IMG_5362

-Remove any scum that rises-scum has never risen for me but just in case!

-Increase heat to medium/high and boil until sauce is thick.  Remember to turn chicken frequently.  This takes a good 20 minutes.

IMG_5364

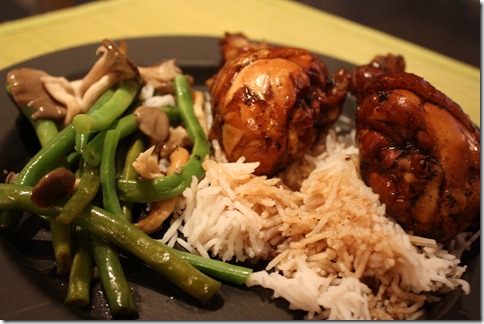
-Serve over rice and ENJOY!

Serves 4

Shaun LOVES this meal and give it a 5.  Lu loved it too.  I had to remove the skin and I wish I would have removed the skin BEFORE I cooked it so that the meat could soak up all the yummy sauce.

8 comments » | Gluten Free, Recipes

Shredded Chicken Taco Meat

January 13th, 2010 — 7:28pm

This recipe is so easy and delicious. I’ve doubled and tripled it before to freeze ahead and it works really well.  You can use it for tacos, enchiladas, tamales-the possibilities are endless!  It’s based on this recipe from Recipe Zaar, with some modifications.

IMG_4404

Ingredients:

-1 lb chicken breast
-1 cup chicken broth
-1 TBSP cumin
-1 tsp chili powder
-2 tsp onion flakes
-1/2 tsp garlic powder
-1/4 tsp salt
-1/4 tsp cayenne pepper

Instructions:

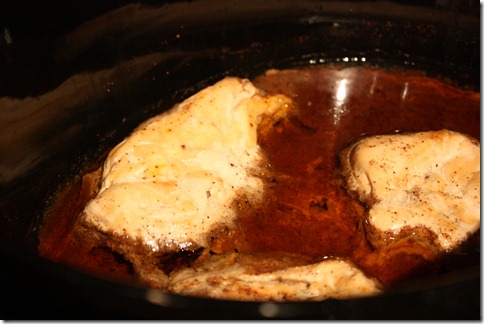
-Place all ingredients in a crock pot, making sure that the spices are incorporated with the chicken broth.

-Cook on low for 6-8 hours. I’m away from the house for 10 hours, so I cook on low for 6 hours and then my crock pot switches to “warm” and it works perfectly.

IMG_4398

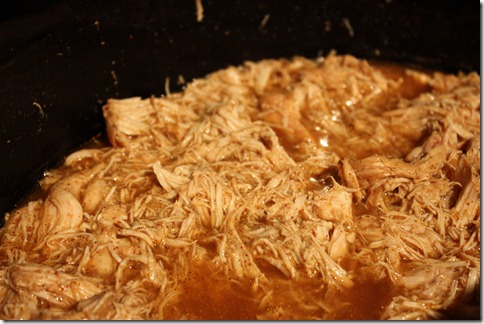
-Shred meat with a fork and stir it really well to incorporate all the liquid.

IMG_4399

-If you freeze it, make sure to include the liquid.

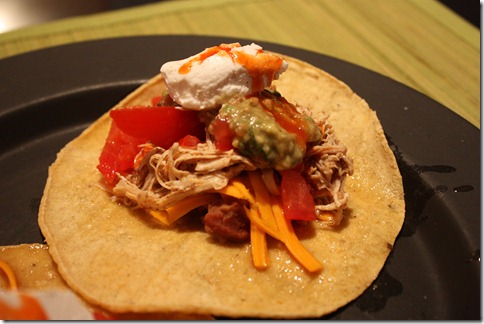
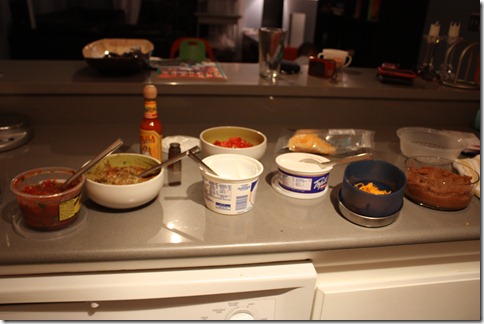
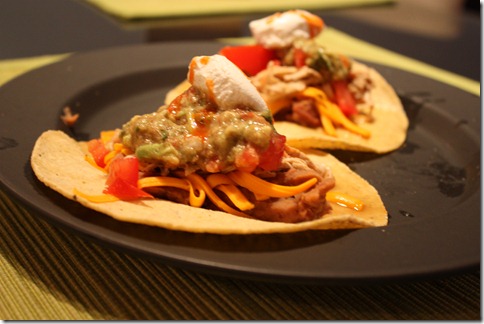
-Serve with all the fixins’-My spread included salsa, guacamole, hot sauce, tomatoes, sour cream and cheese (both dairy and non-dairy), and beans atop corn tortillas.

IMG_4400

-Enjoy!

IMG_4403

Shaun loves this (even though it’s chicken breast!). He gave it a 4.  Lu loved it too and couldn’t get enough tonight.  It’s so easy and always a hit.

17 comments » | Gluten Free, Recipes

Black Eyed Peas

January 2nd, 2010 — 7:44pm

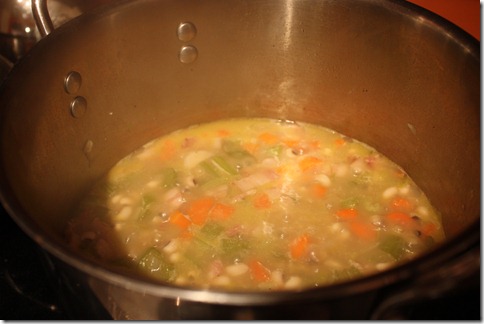
IMG_4250

Ingredients:

-6 ounces of bacon (6 pieces)
-1 onion, chopped
-10 cloves of garlic, chopped
-1 medium leek, finely chopped-whites and light green part
-2 cups chopped celery, including leaves
-3 carrots, chopped
-48 ounces of chicken broth
-~20 ounces of black eyed peas, soaked overnight
-S+P to taste
-Tabasco for garnish (optional)
-Avocado for garnish (optional)

Instructions:

-Cut up bacon and brown over medium heat (I used my kitchen scissors and the worked perfectly).

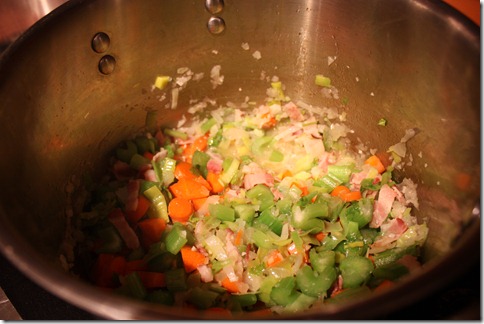
-Add onions, garlic, leek, celery, and carrots and sauté until carrots are tender.

IMG_4245

-Add broth, turn heat to HIGH and bring to a boil.

-Once broth is boiling, add peas, and cook for 15-20 minutes, or until tender.

-Add S+P to taste.

IMG_4248

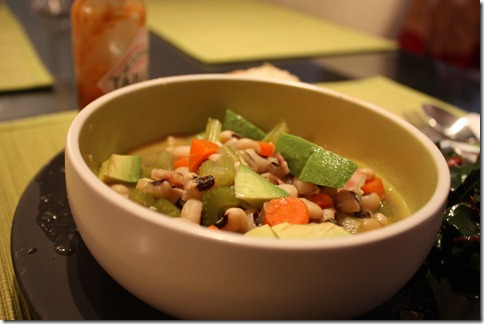
-Enjoy!

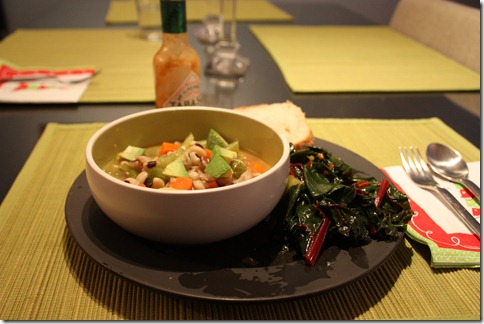
IMG_4249

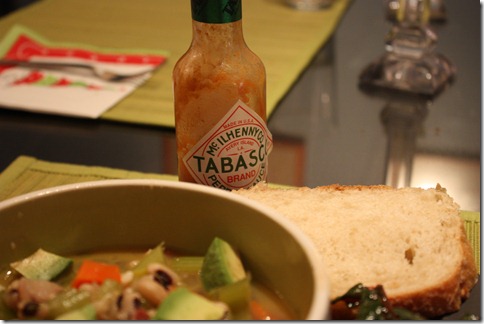
Can’t do without the Tabasco!

IMG_4252

I know that avocado doesn’t seem to go, but I had cut up an avocado earlier for Lu’s snack and it was a GOOD avocado (Go Costco!), I added it and it was a nice touch. Parm would be good on this too.

Shaun gave it a 3 and said “This is GREAT!!! <5 second pause> …for soup”.  I loved it.  Lu only liked the carrots.  She kept trying the peas, making a funny face and spitting them out.

Good Luck!

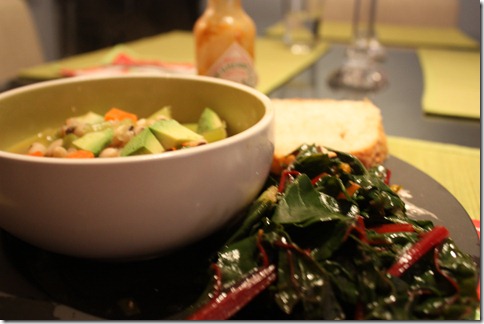
And for an added good luck bonus, I made some chard.

IMG_4251

I simply sautéed it in chicken broth and when it was done I added some dark agave nectar (about 1 tsp for an entire bunch of chard) and tossed to coat. YOM.

2 comments » | Gluten Free, Recipes

How To Make KILLLER Oatmeal

December 13th, 2009 — 11:13am

My friend Mel asked for an oatmeal tutorial.  My first thought was “I can’t do an oatmeal tutorial, that’s Kath’s thing.” But then I realized that I have my own method, and I’ve been making them this way (with a few tweaks) since college, so here’s my how to.  For a complete tutorial on Kath’s method, check out her Tribute to Oatmeal. She even has a video!

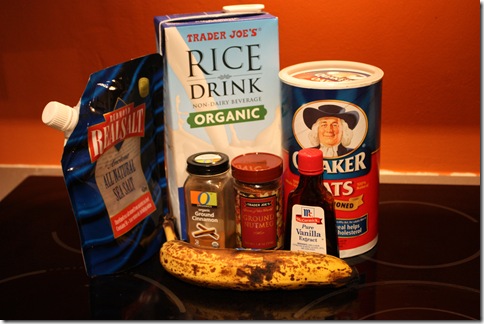
First the ingredients:

006

-Old Fashioned Oats (not quick cooking)
-Banana
-Milk (I use Rice Milk because of my lactose intolerance)
-Water
-Salt
-Vanilla
-Cinnamon
-Nutmeg

Instructions:

Before we get to the actual instructions you’ll want to figure out how much you want.  The basic ratio is the same as with rice-1 part oats to 2 parts liquid. If I’m really hungry I do 1/2 cup of oats or if I’m not as hungry or I’m going to put a ton of toppings on I do 1/3 cup oats.  Today I did a double batch of a 1/3 cup serving.

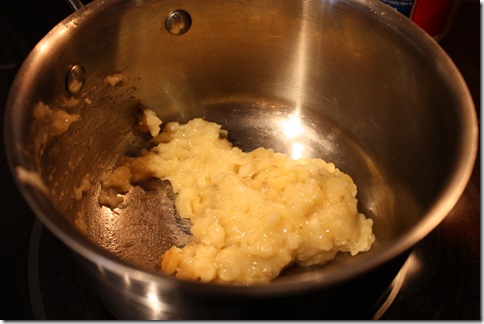
1) Mash your banana up until it’s glistening. I use 1/2 a banana per serving.

009

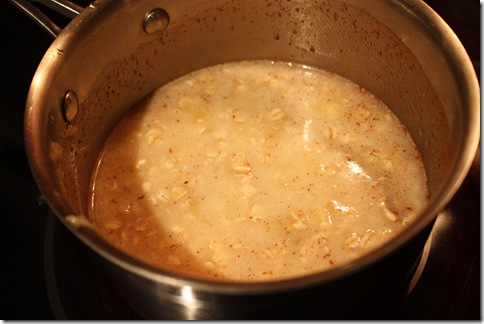
2) Add your oats, liquid (to cut calories do 1/2 milk and 1/2 water-so today since I did 2/3 cups oats, I did 1/3 cup milk, and 1/3 cup water-when I was preggers I did all milk, no water), and spices. For the spices I just eyeball it-a dash of salt, about 1/2 tsp of cinnamon, about 1/4 tsp of nutmeg, and a splash of vanilla.

011

3) Cook on medium to medium/low heat, stirring occasionally. If you cook them at too high a heat they stick and burn-boo!

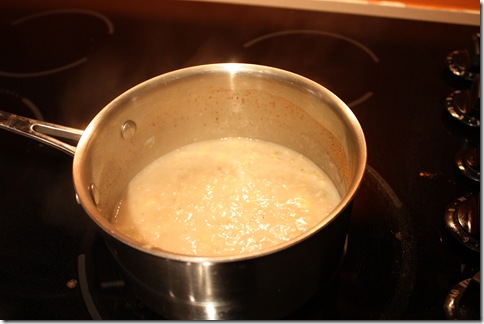
4) After about 10 minutes, they get to this consistency:

012

(I should have taken a better close up) When they’re almost at a consistency that you like, turn off the stove and let them sit for a minute or so-this helps them not to stick to the pan and makes clean up easier.  If you have Teflon you probably can just cook them to where you want them and don’t have to worry about this step.  We can’t have Teflon or any nonstick surfaces in out house because it’s potentially lethal to birds.

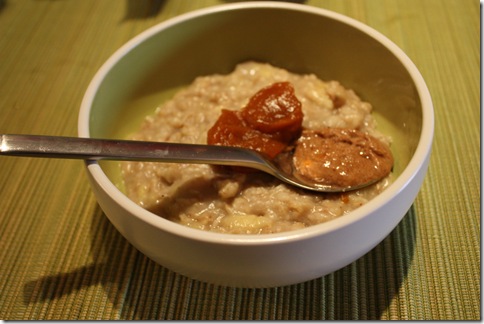
5) Dump into a bowl and top with whatever.  Today I just put some pumpkin butter and almond butter on a spoon.  Kath made a very important discovery to oat eating that if you put your nut butter on a spoon and eat the oats off of that you get a bite of the butter with every bite.  If you mix it in, the flavor gets lost. Other toppings that I love: coconut, granola, berries, maple syrup-be creative!

020

6) In my house, you can’t forget the bird!  She knows what oatmeal making looks/sounds like and she BEGS for hers.  She get’s a serving (notice the dab of almond butter for her):

017

She eats it greedily:

019

I hope you enjoy!  I now make a big batch on Sundays and just reheat it at work.  It’s not quite as good as freshly made but it’s still better than instant!

8 comments » | Gluten Free, How To, Recipes

Back to top